
|
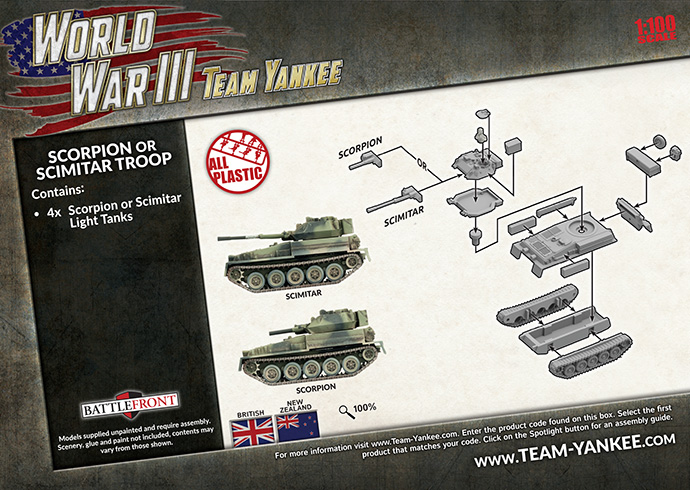
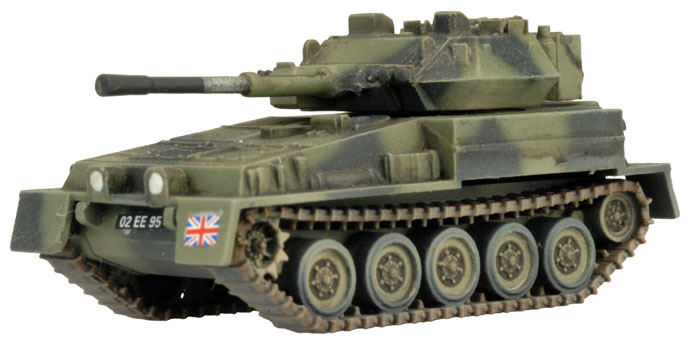
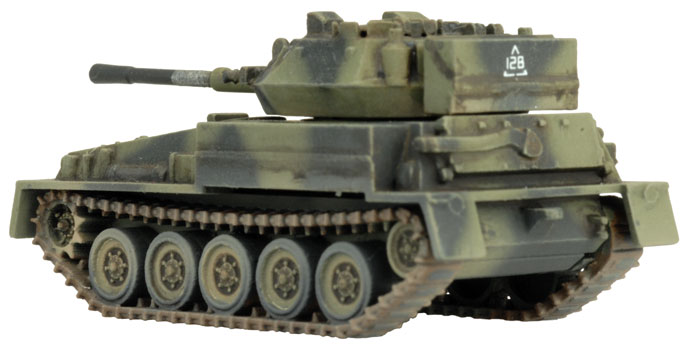
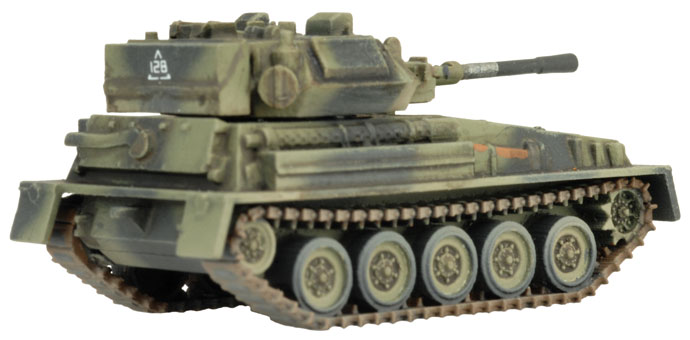
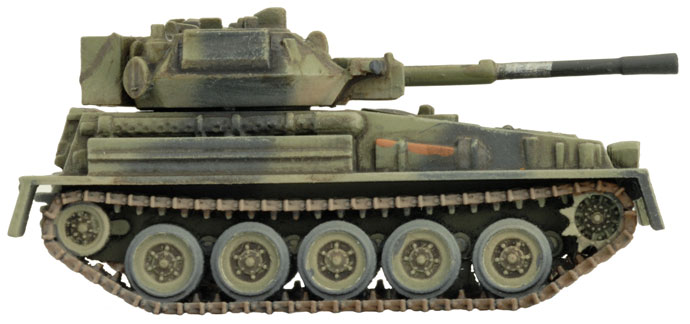
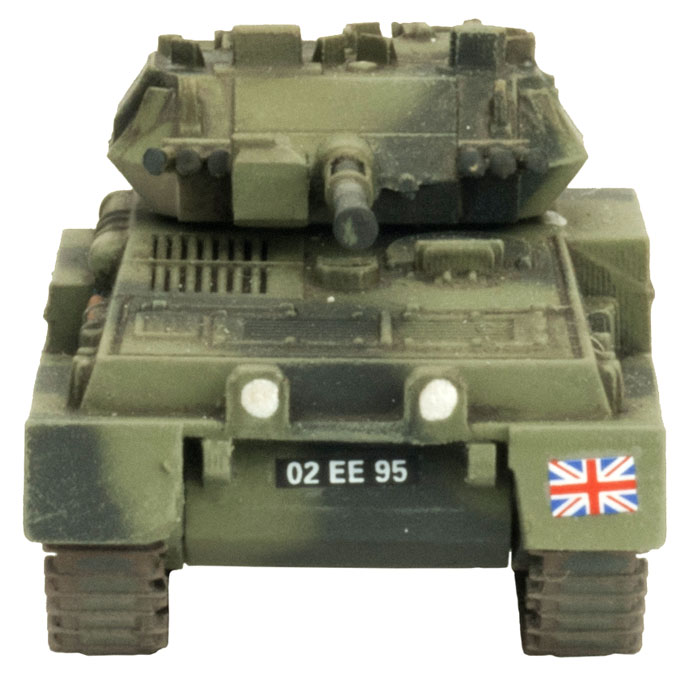
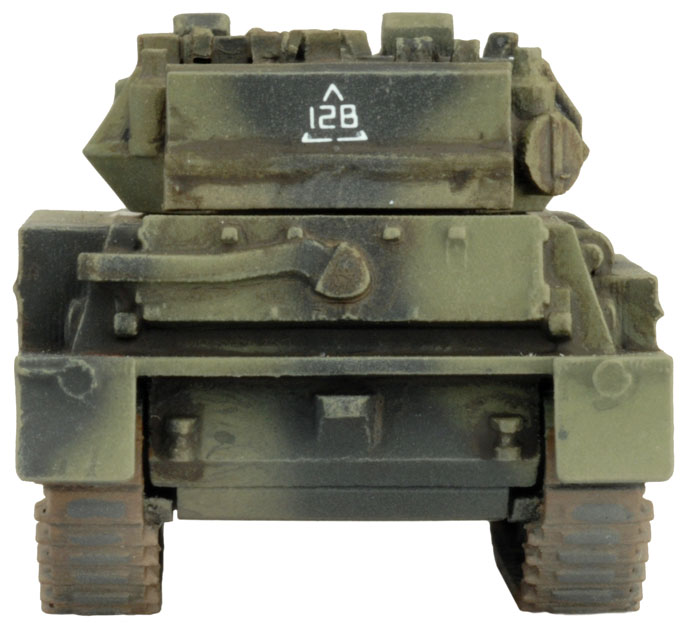
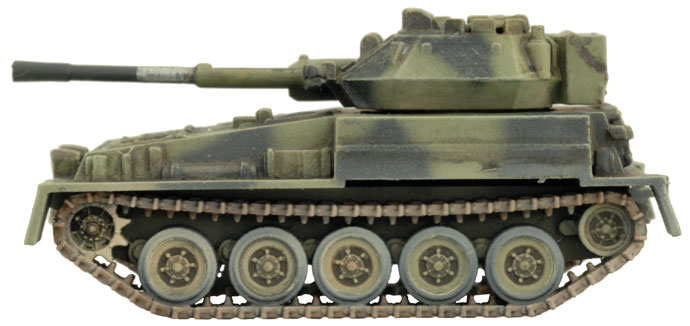
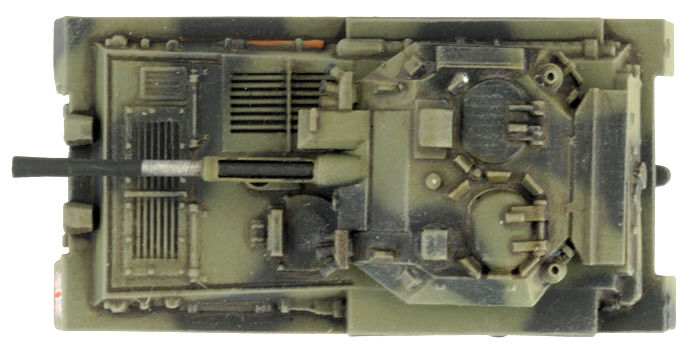
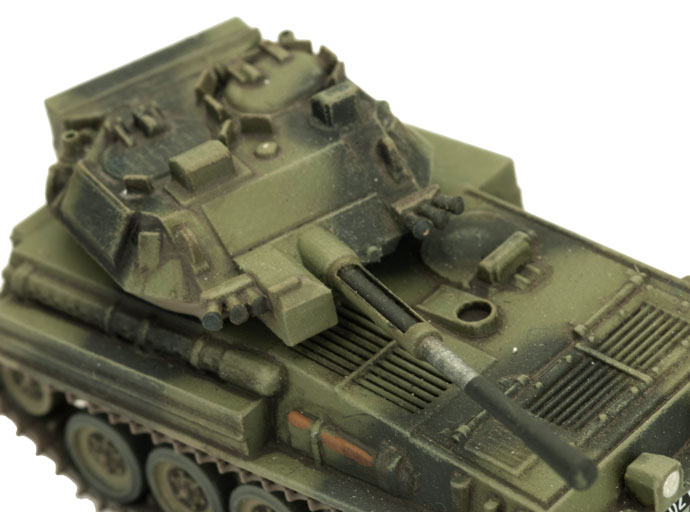
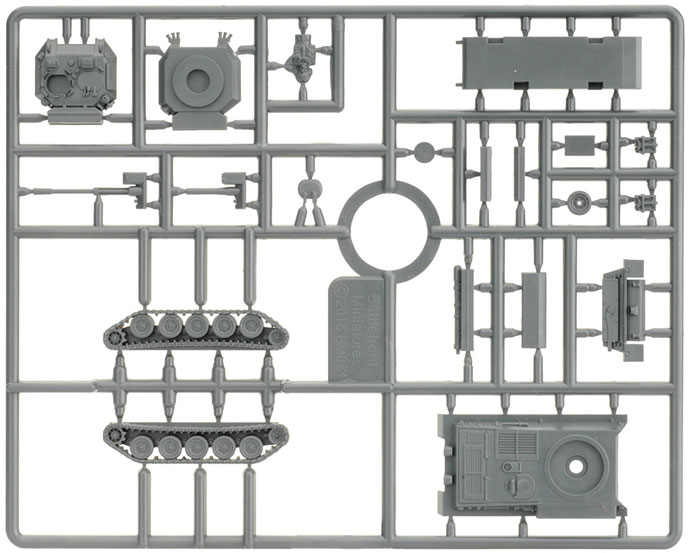
includes four Scorpion / Scimitar plastic sprues, one Tank Commander sprue & four Unit cards. The British Army Of the Rhine had three tracked reconnaissance regiments. The recce troops of the first two were equipped entirely with Scimitar reconnaissance vehicles, while the recce troops of the third mixed Scimitars and Scorpions together. |
 |
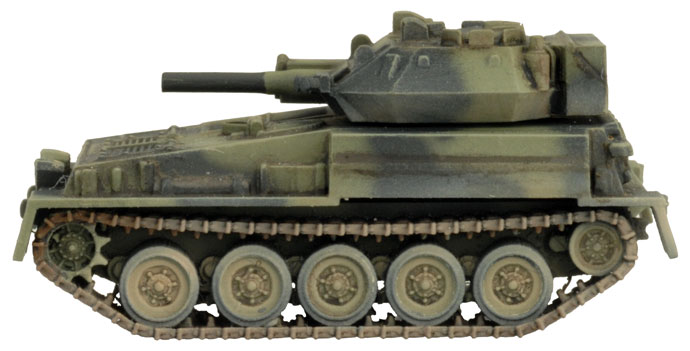
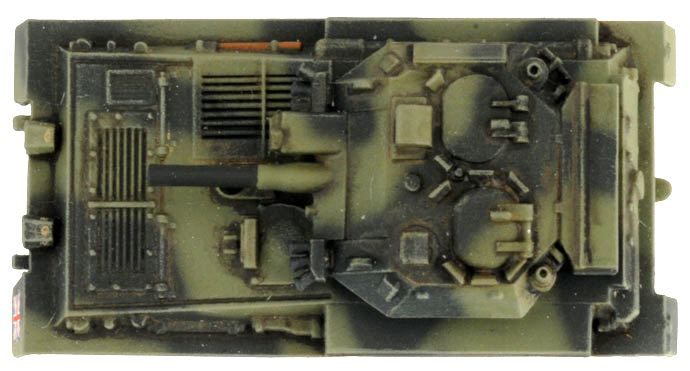
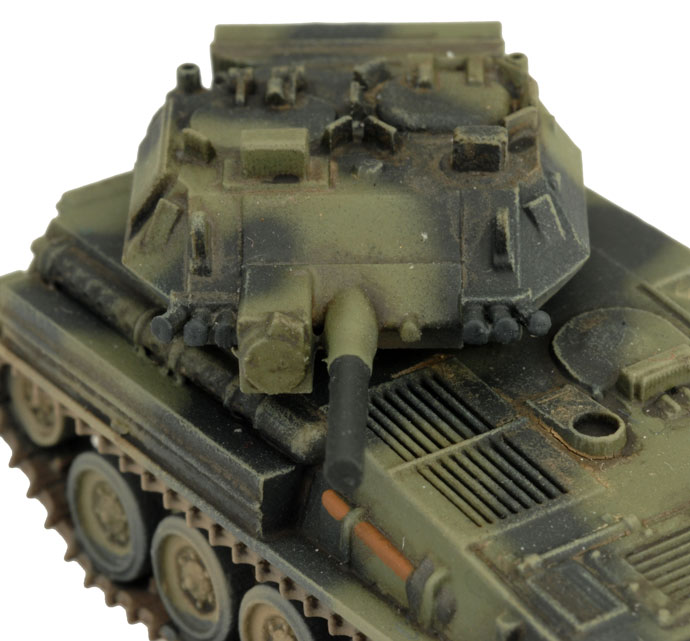
| The Scorpion |
| As divisional troops, the medium recce squadron’s main role is to be a trip line to detect Soviet thrusts and identify the main effort ahead of the divisions main line of resistance, while denying Soviet reconnaissance troops the opportunity to identify where the British defences lie. A secondary role is to act as a mobile force to eliminate light Soviet forces airlanded behind the front line. | |
 |
 |
 |
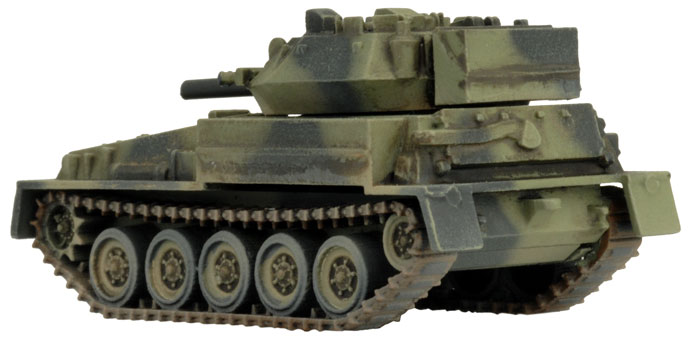 |
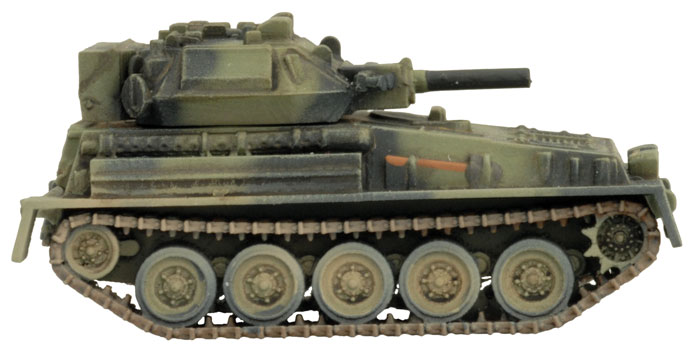 |
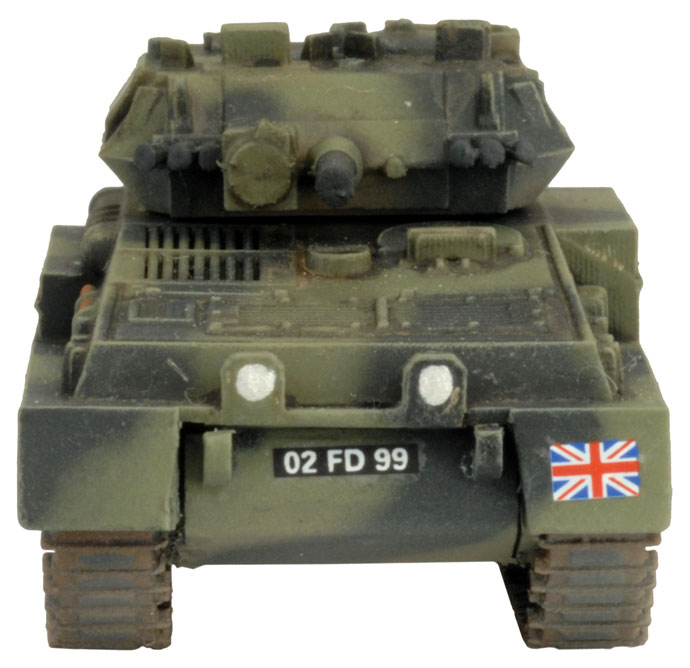 |
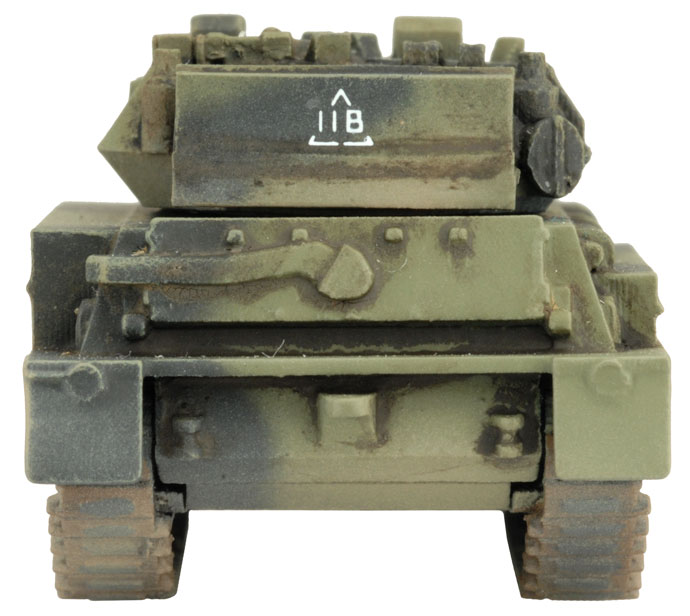 |
 |
 |
 |
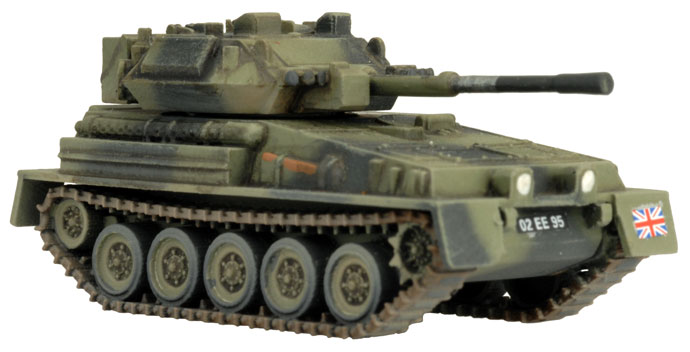
| The Scimitar (x4) |
|
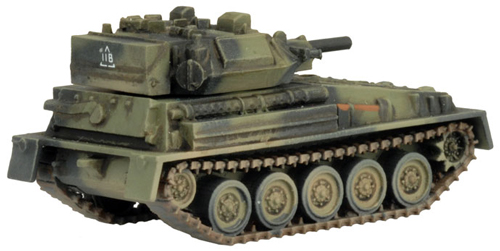
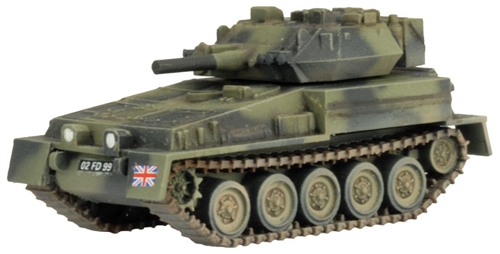
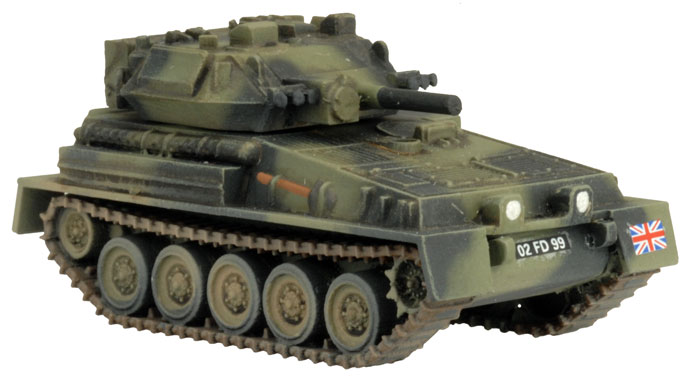
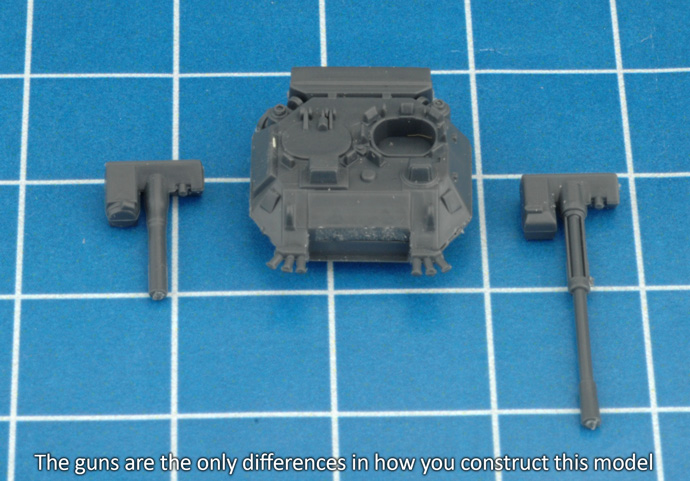
The main difference between the Scorpion and the Scimitar is their main armament. The Scimitar mounts a 30mm L21 Rarden automatic gun with a high rate of fire, while the Scorpion mounts a 76mm L23 gun with a slower rate of fire, but a deadly HESH (High Explosive Squash Head) round that demolishes light armoured vehicles, buildings, and infantry bunkers with equal ease. Being small and light, the Scorpion and Scimitar are exceedingly quick. However, that small size is achieved at the cost of having the commander load the main gun making it difficult to coordinate fire and movement. Designed by Tim Adcock |
 |
 |
 |
 |
 |
 |
 |
 |
 |
 |
 |
| The Scorpion or Scimitar Troop Box Contents |
| Contact the customer service team at customerservice@battlefront.co.nz if you have issues with any components. |
| Scorpion / Scimitar Plastic Sprue (x4) |
 |
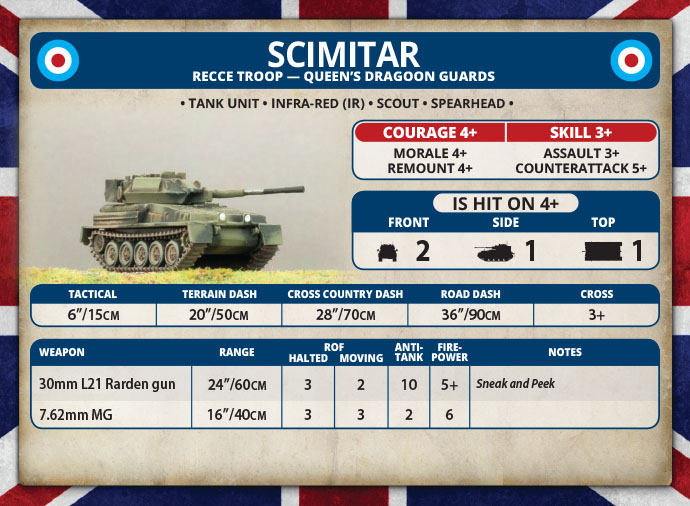
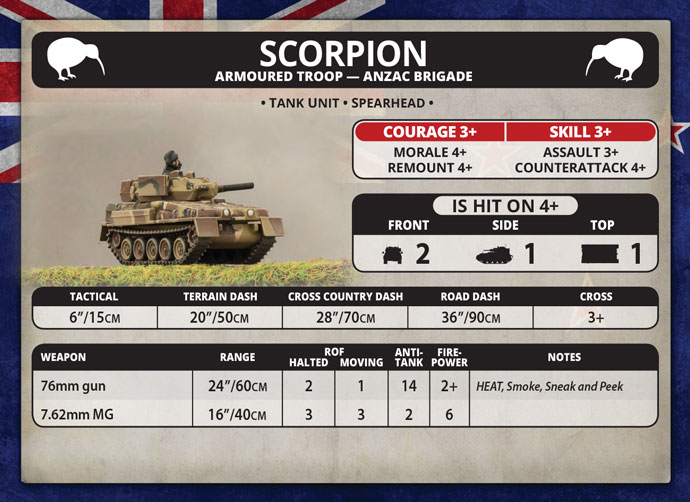
| Scimitar Unit Card (x2) | Scorpion Unit Card (x2) | New Zealand Scorpion (x1) |
 |
 |
 |
| Assembling The Plastic Scorpion / Scimitar |
| Aaron demonstrates how to assemble the plastic Scorpion and Scimitar. |
| Step 1. Start by attaching the tracks to the side of the lower hull. | Step 2. Next, attach the rear hull plate to the back of the lower hull section. |
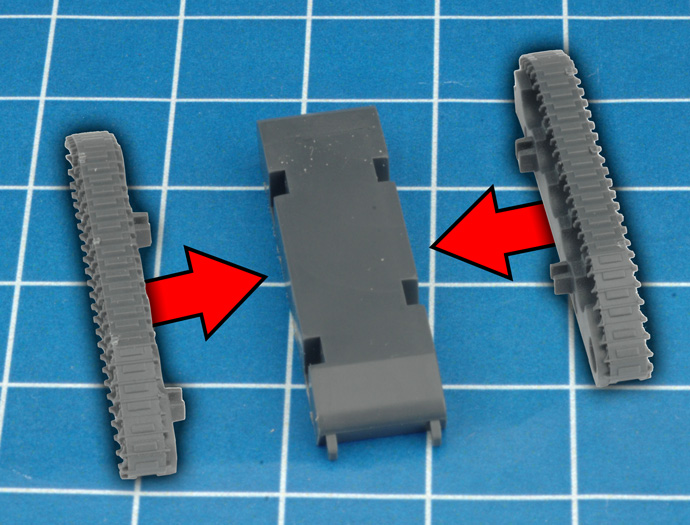 |
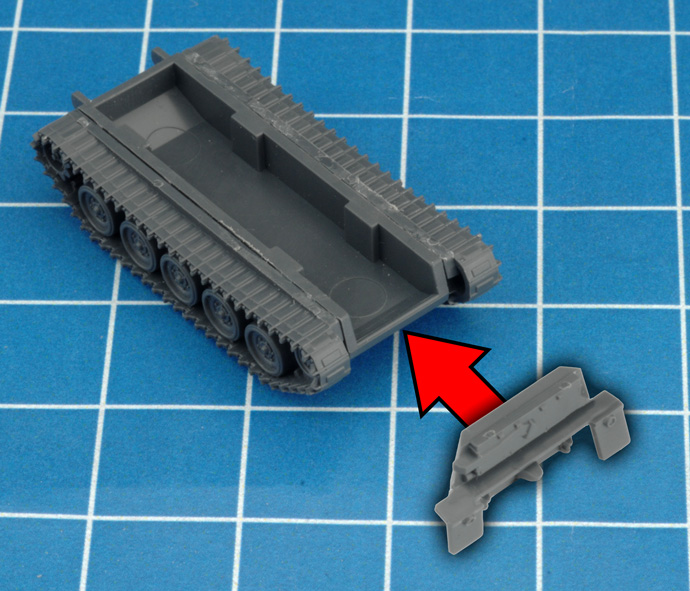 |
| Step 3. Attach the top hull section to the lower hull section. | Step 4. Next, attach the exhaust to the right-hand side of the hull. |
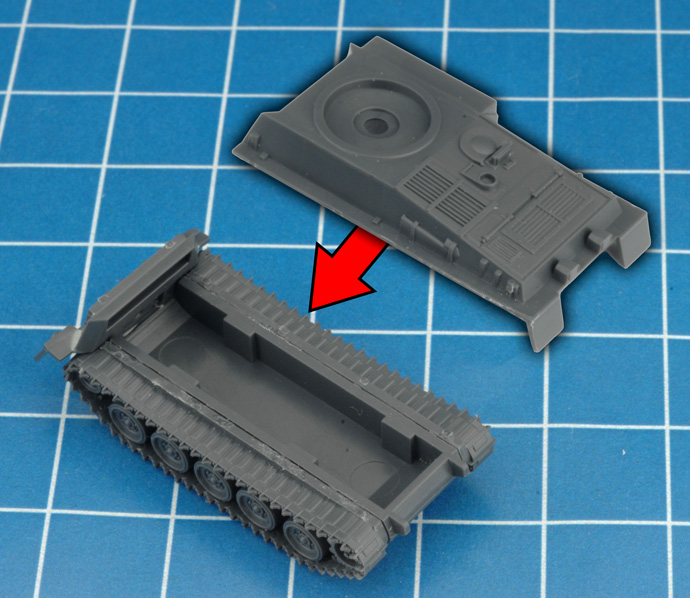 |
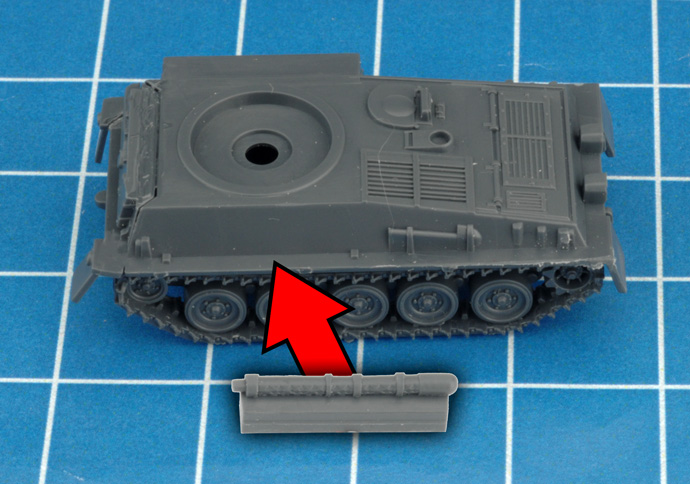 |
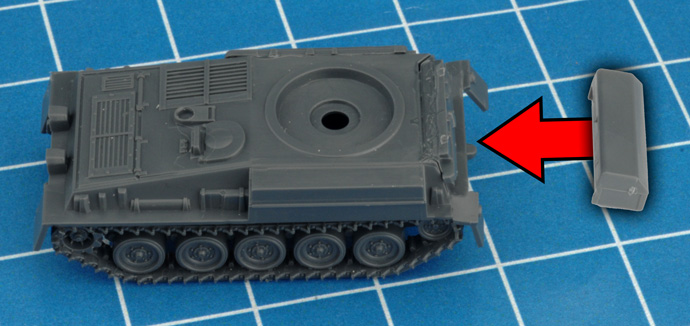
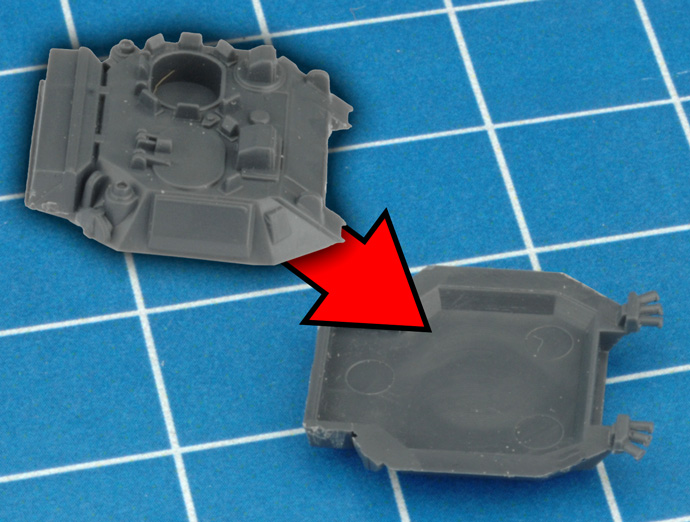
| Step 5. Attach the rear stowage bin to the back of the hull. | Step 6. Start assembly of the turret by joining the turret top section to the bottom section. |
 |
 |
| Below: The plastic sprue includes both the 76mm gun (left) of the Scorpion and the 30mm gun (right) of the Scimitar. | |
 |
|
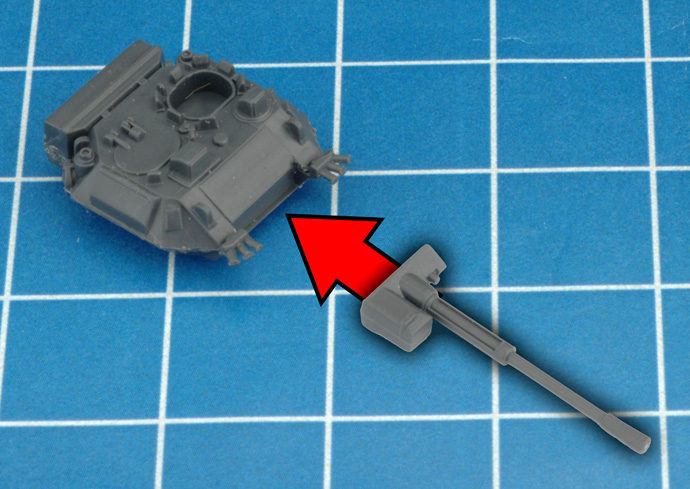
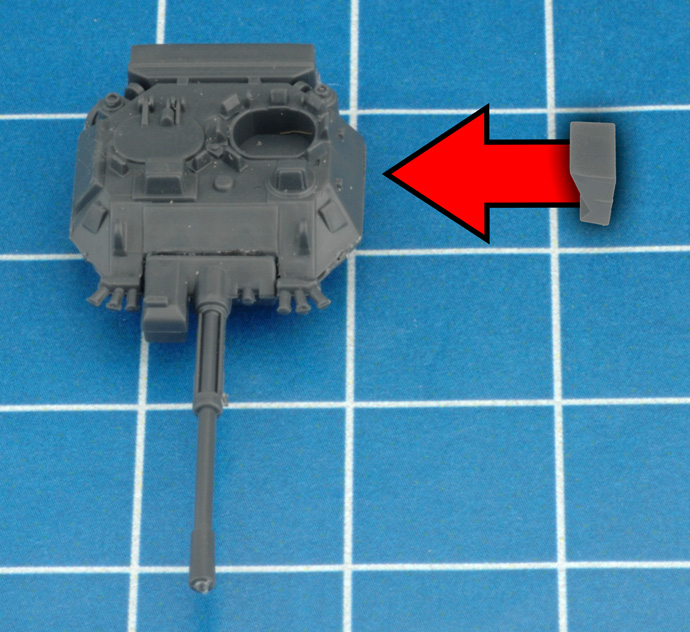
| Step 7. Attach the gun of your choosing to the front of the turret. In the example show the 30mm gun of the Scimitar. | Step 8. Next, attach the turret stowage bin to the left-hand side of the turret. |
 |
 |
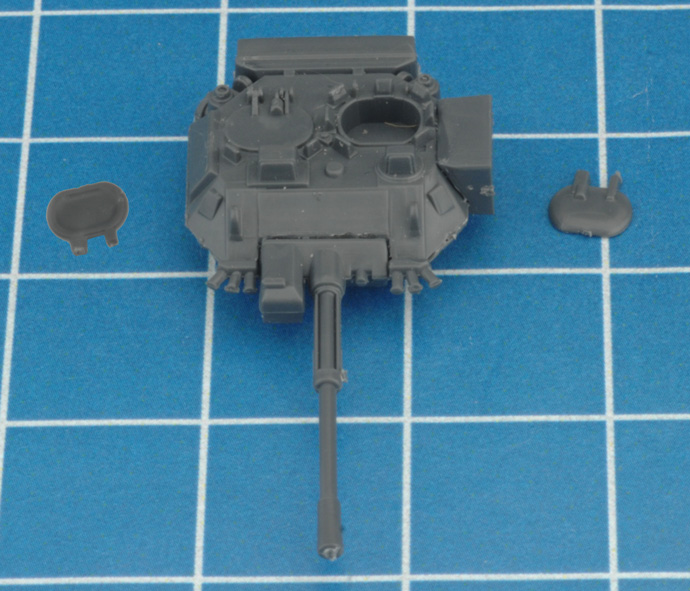
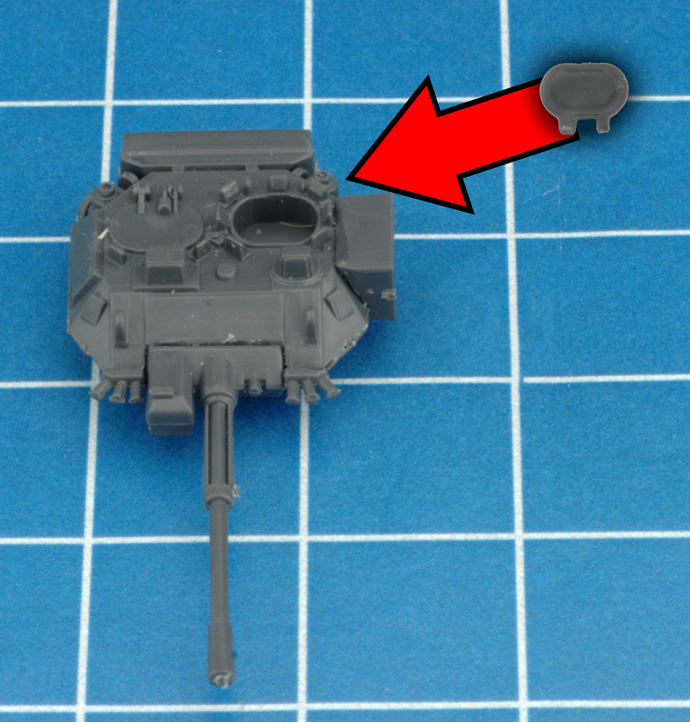
| Below: The turret hatch can be modelled in either an open or closed position. | |
 |
|
|
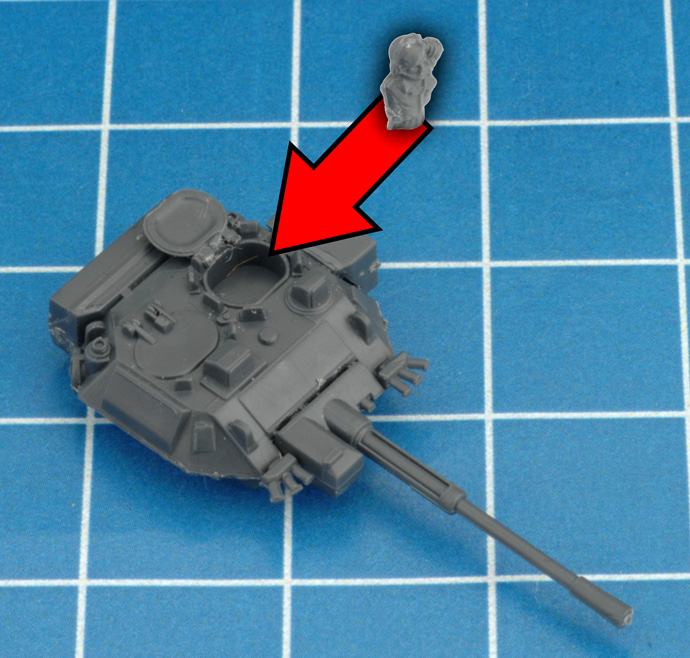
Step 9. When attaching the turret hatch in the open position you can then add the Tank Commander found on the plastic sprue. This is a useful was of distinguishing Platoon Leaders from the rest of the units in the platoon. |
|
 |
 |
|
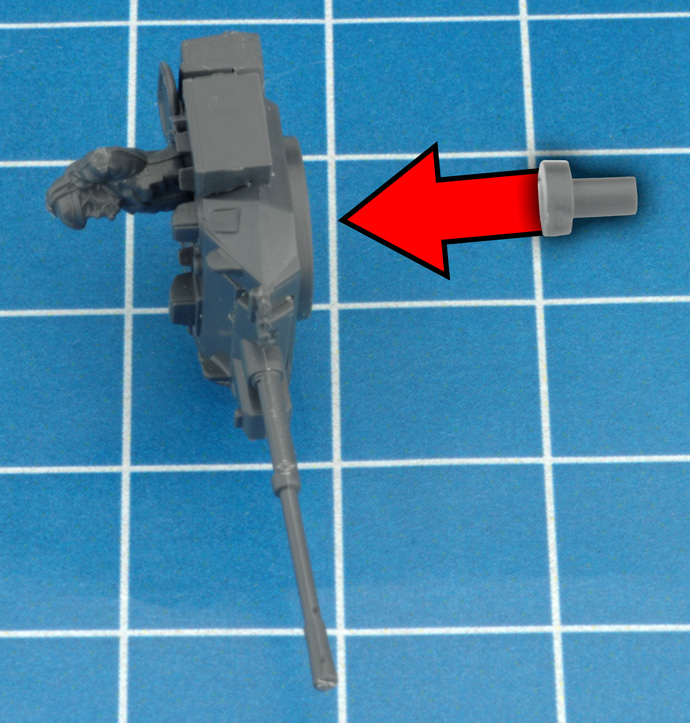
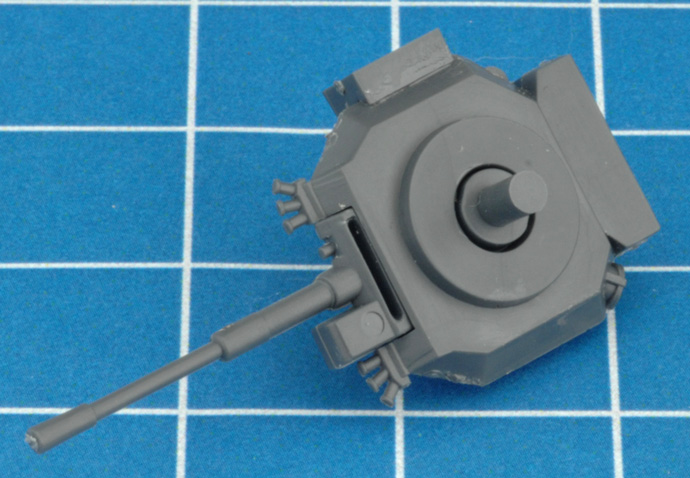
Step 11. Use the turret peg or rare-earth magnets as a quick and easy way of attaching the turret to the hull. |
|
 |
 |
|
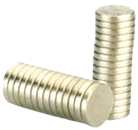
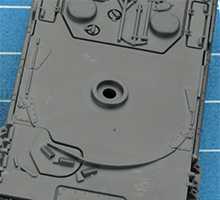
Adding Rare Earth Magnets Alternatively, you may choose to glue rare earth magnets into the recess in the hull and to the bottom of the turret. Magnets are a quick and secure way of fixing your turrets to the hulls, as an alternative to the included plastic peg. Rare Earth Magnets (XX105) are available through the online store here... |
 |
 |
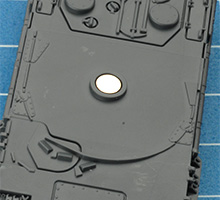 |
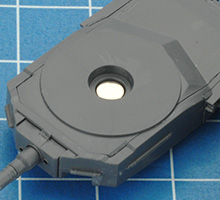 |
Read Chris' guide to Rare Earth Magnets here for more tips and tricks... |
| Below: With the turret in place, the Scimitar in now fully assembled. |
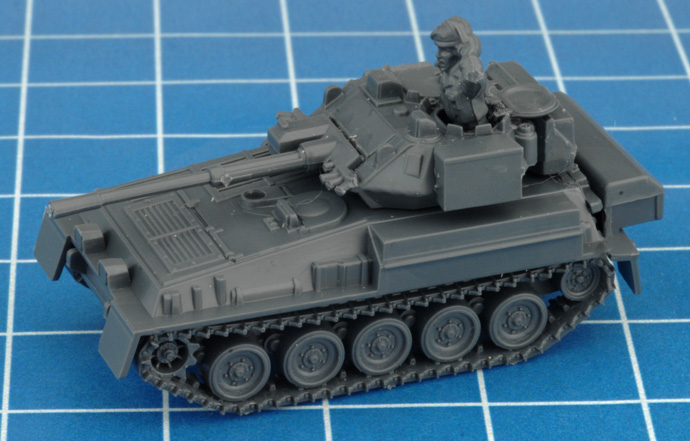 |
| British Vehicle Painting Guide For Iron Maiden |
| Aaron demonstrates how to paint the distinctive green and black camouflage pattern featured on British vehicles in Iron Maiden. |

