
 |
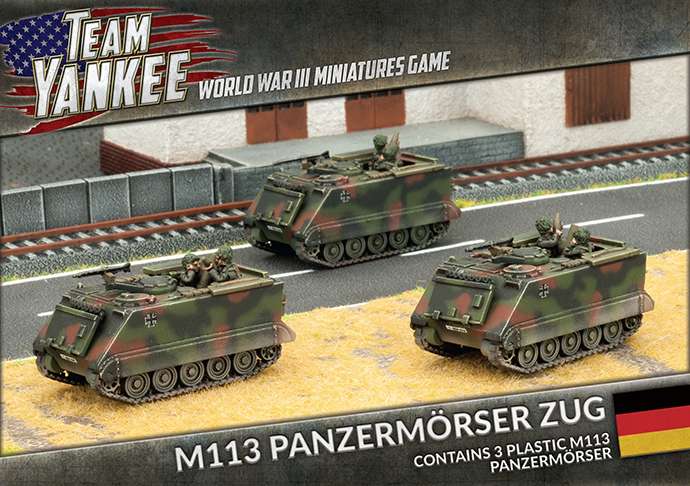
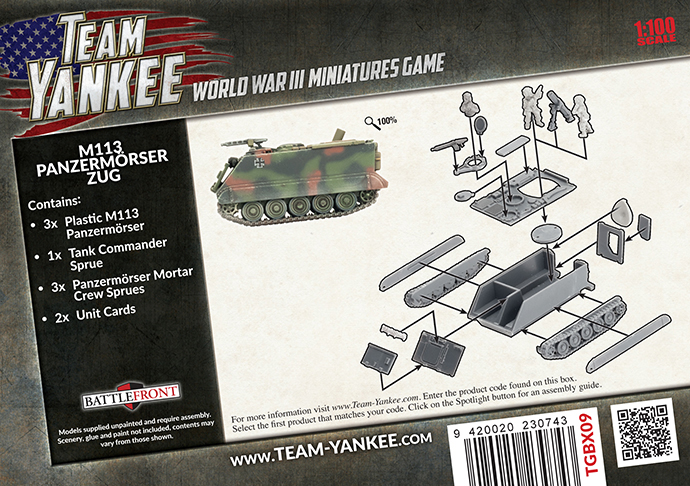
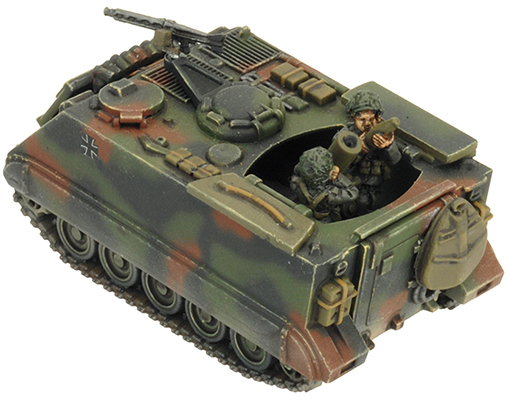
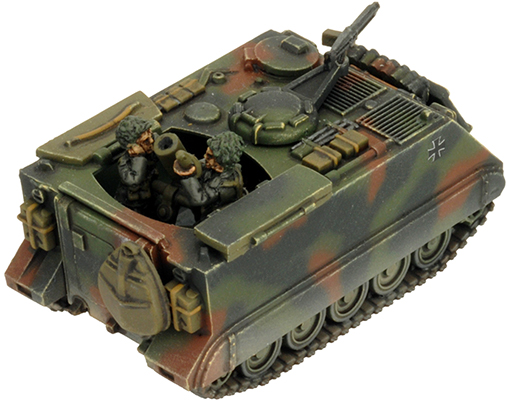
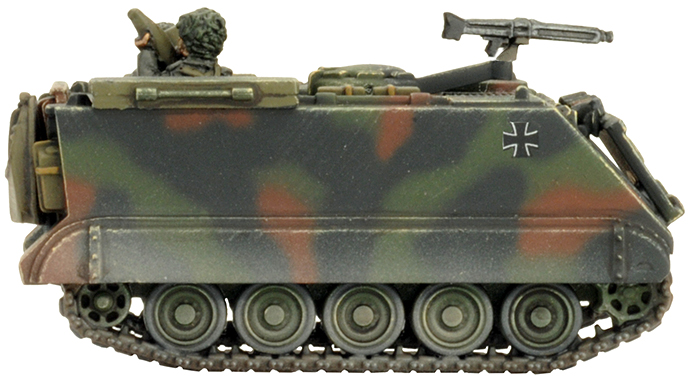
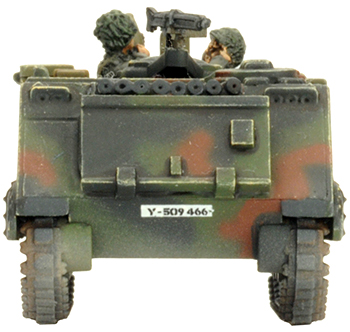
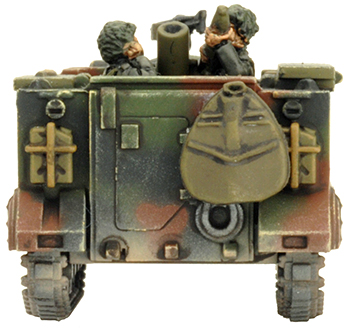
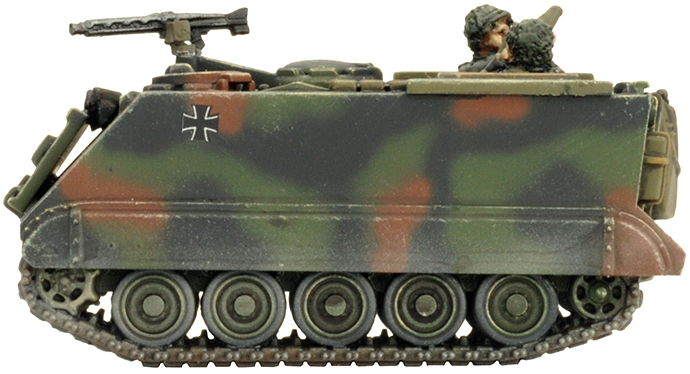
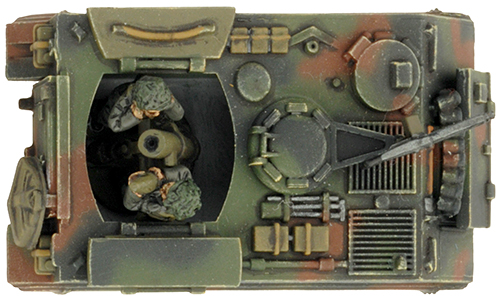
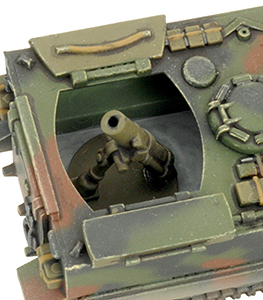
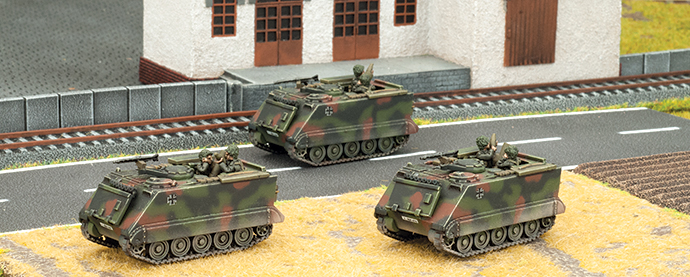
M113 Panzermörser Zug (TGBX09) Includes three M113 Panzermörser armoured mortar vehicles, resin tank commander sprue, three resin mortar crew sprues, two Unit Cards. The Panzergrenadier Battalions had their very own artillery in the form of 120mm M120 mortars mounted in modified M113 armoured personnel carriers. Check out the M113 Panzermörser Zug in the online store here... Designed by Tim Adcock and Evan AllenPainted by Aaron Mathie |
|
Leopard All across West Germany divisions are being mobilised and reservists flock to their barracks for assignment to the front. With their powerful Leopard 2 tanks and panzergrenadiers mounted in the Marder infantry fighting vehicles, they fight with skill and cunning to slow the Soviet advance, determined to protect their homes and families. |
 |
 |
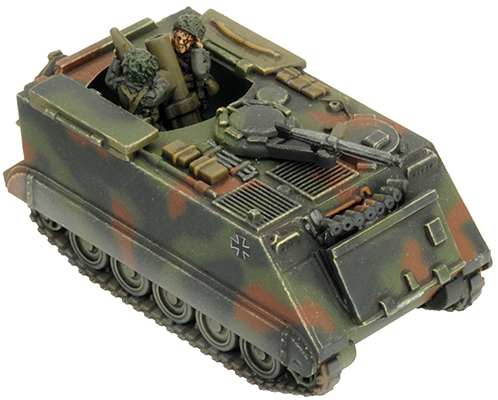
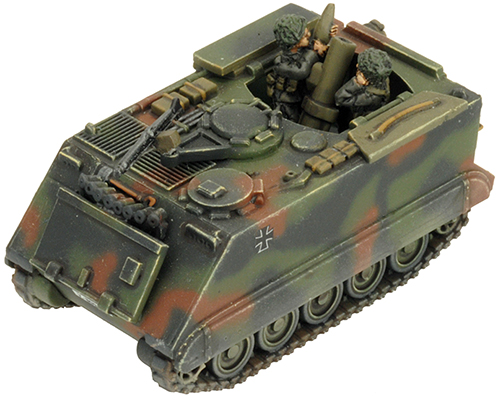
| The main advantages of these Panzermörser (Armoured Mortars) are there mobility and immediate tactical availability. A company commander can request fire as required. For this reason the mortars are nicknamed ‘die kleine Artillerie’ (the little artillery). |
 |
 |
 |
 |
 |
 |
 |
 |
 |
 |
Painting NATO Camouflage All the colours you need to paint the standard NATO three-colour camouflage pattern can be found in the Quartermasters Paint Set and the Team Yankee German Paint Set. |
 |
 |
 |
 |
| M113 Panzermörser Zug Box Contents |
| Contact the customer service team at customerservice@battlefront.co.nz if you have issues with any components. |
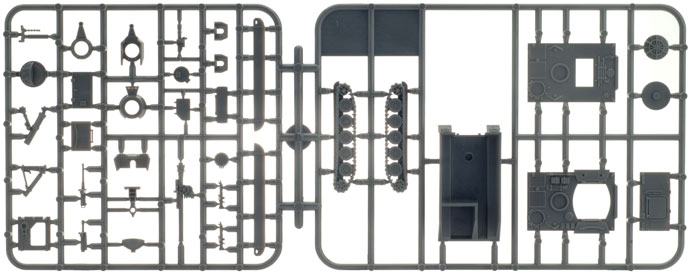
| M113 Plastic sprue (x3) |
 |
| 3x Tank commander sprue |  |
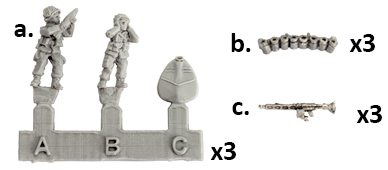 |
a. 3x Mortar crew sprues b. 3x Smoke dischargers c. 3x MG3 anti-aircraft machine-guns |
| Unit Cards | |
 |
 |
| Assembling an M113 Panzermörser |
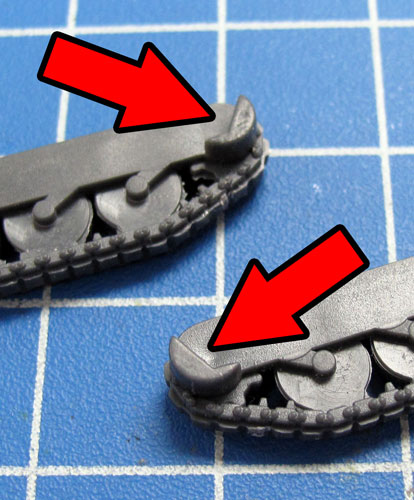
| Step 1. Each track for the M113 has a small tab on the front end. This tab sits up against with the lower half of the hull front as seen in the examples below. | Below: The right-hand and left-hand side tracks attached successfully to the hull. | ||
 |
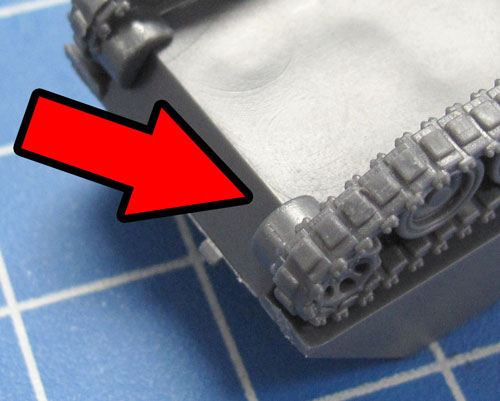 |
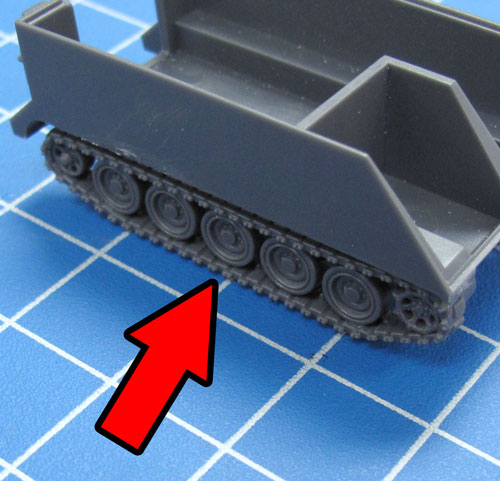 |
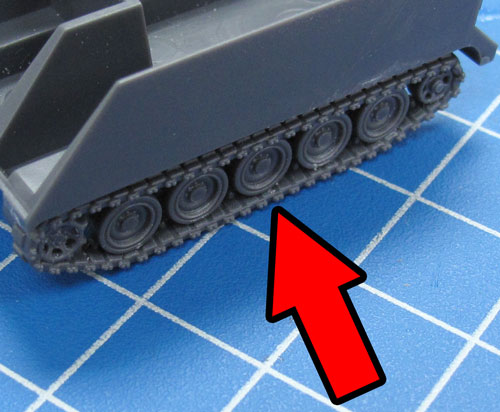 |
| Step 2. Next, attach the front glacis plate to the front of the hull. | Below: The glacis plate attached to the front of the hull. | Step 3. Next, time to assemble the rear section; this is made up of the ramp and the rear door. | |
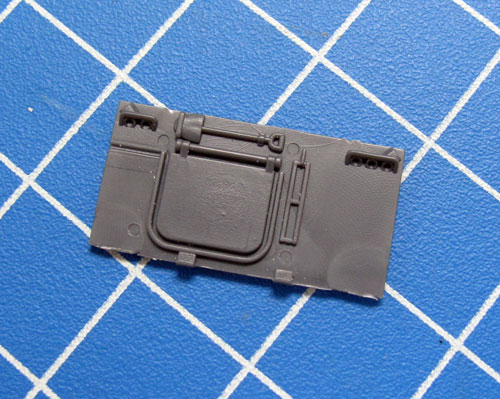 |
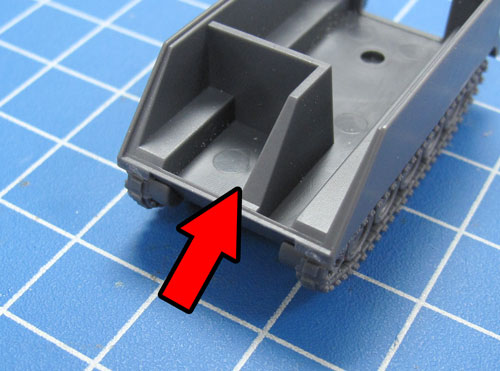 |
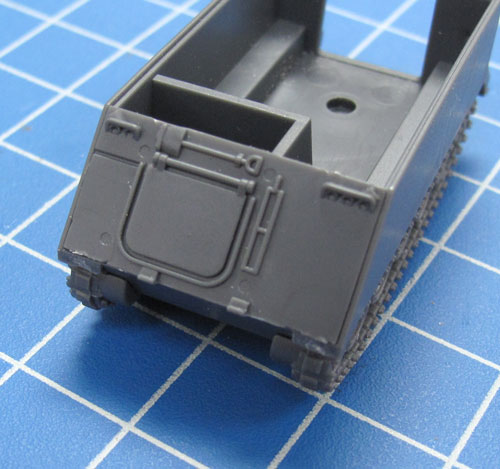 |
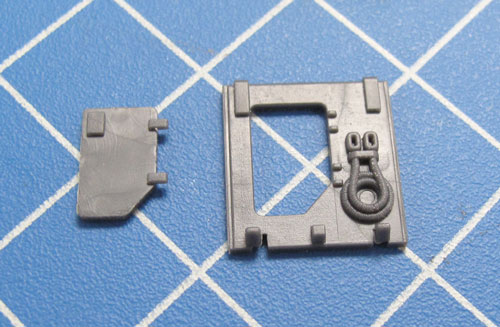 |
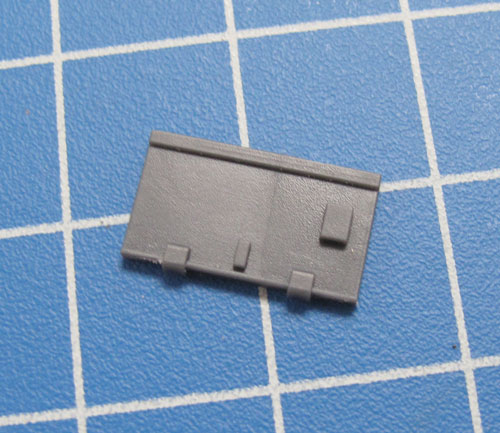
| Below: The assembled ramp section. | Step 4. Next,attach the ramp section to the back of the hull. | Below: With the ramp section attached, the basic hull is now fully assembled. | |
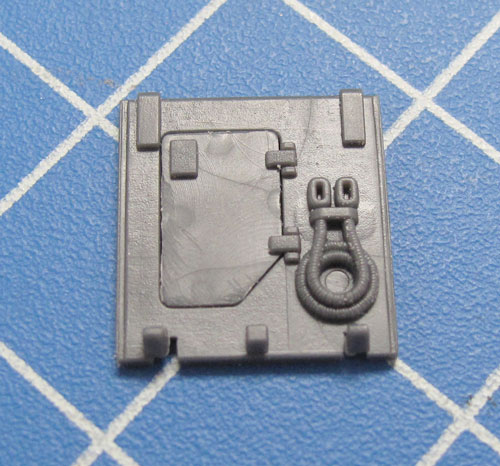 |
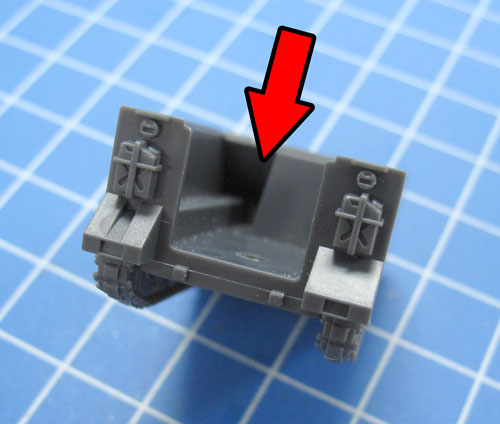 |
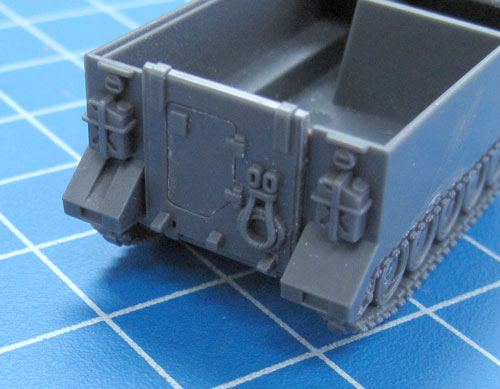 |
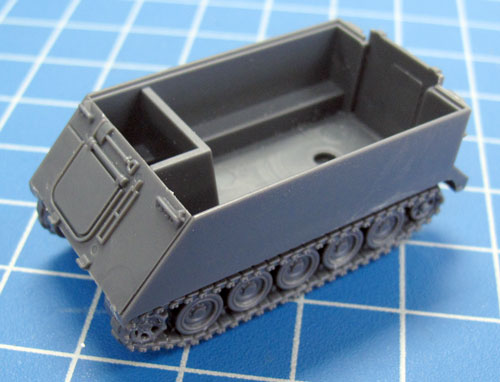 |
| Step 5. Before crossing rivers, the trim vane on the M113 was lowered to prevent water from entering the vehicle via any open hatches. | Below: The trim vane attached to the front of the hull. | |
 |
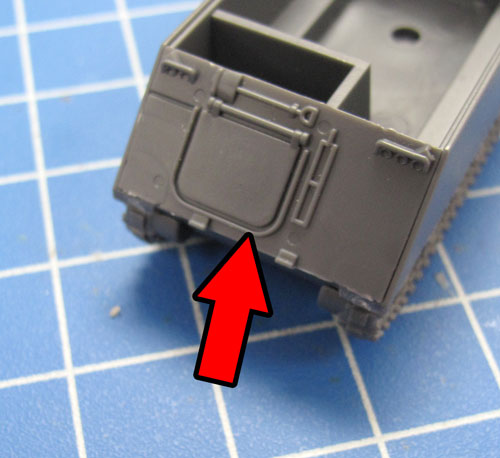 |
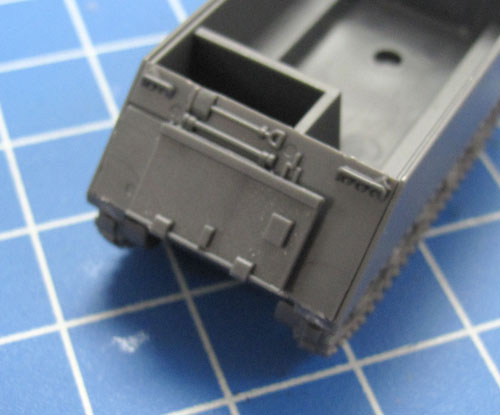 |
| Step 6. The side fenders attach to the hull just above the tracks as shown in the example below. | Below: The side fender attached to the sides of the M113. | |
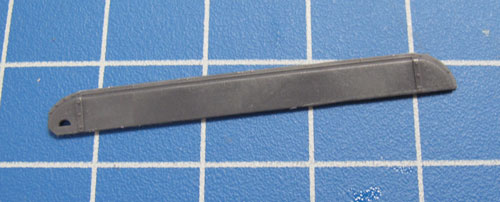 |
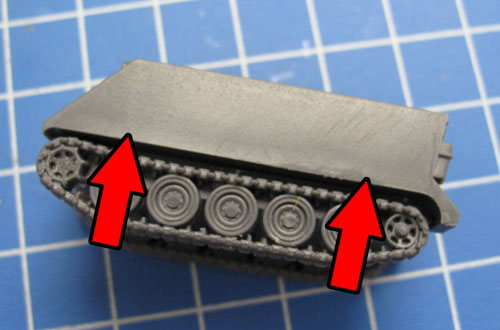 |
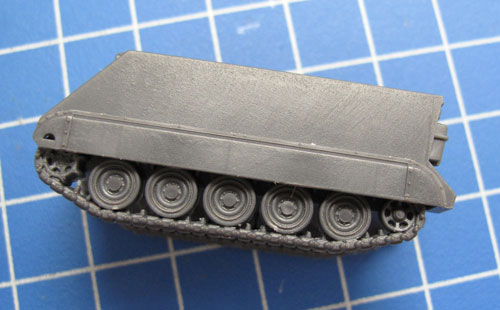 |
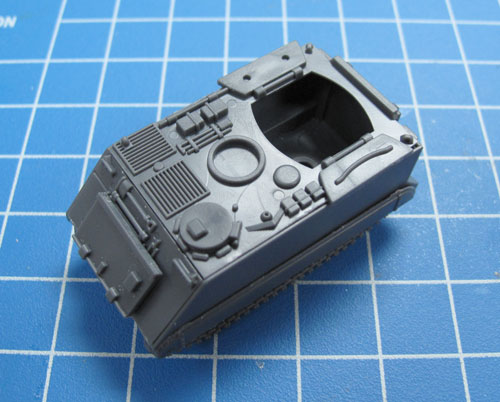
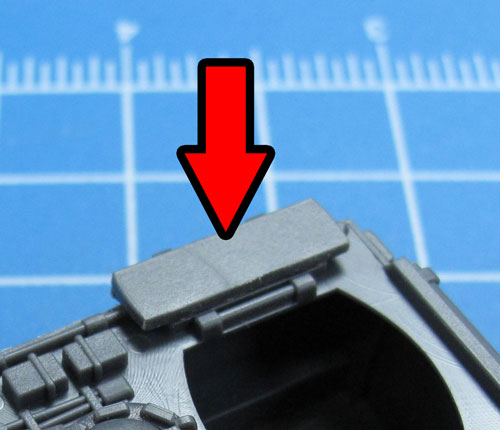
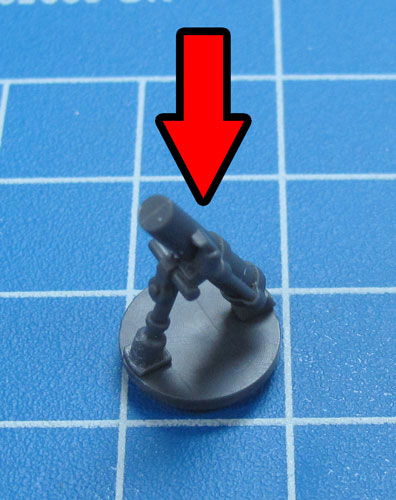
| Step 7. Attach the top deck to the top of the hull. | Step 8. Attach the hinged section to the right-hand fighting compartment hatch. | Step 9. Attach the M120 mortar to the base plate. | Step 10. Add the mortar to the fighting compartment. |
 |
 |
 |
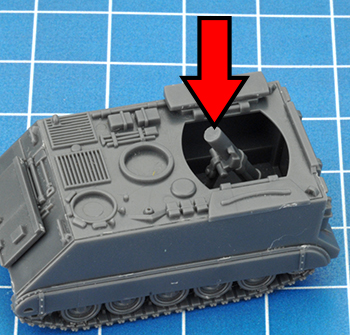 |
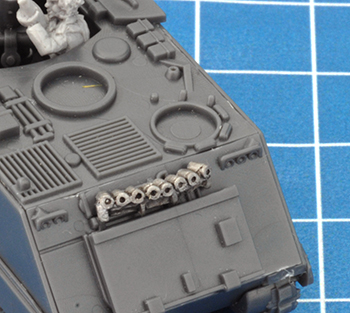
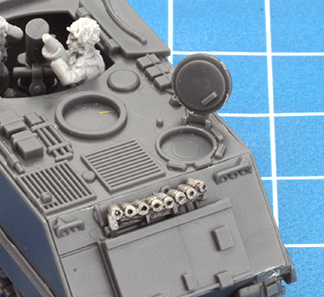
| Step 11. Add mortar crew figures to the fighting compartment. There are enough for two crew per vehicle. | Step 12. Attach the mortar baseplate at the rear of the vehicle. | Step 13. Glue the smoke dischargers above the trim vane. |
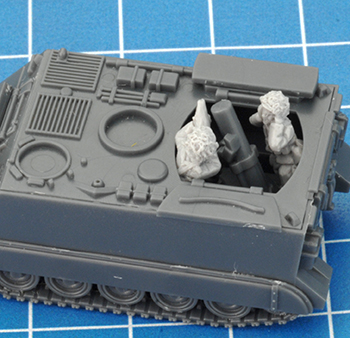 |
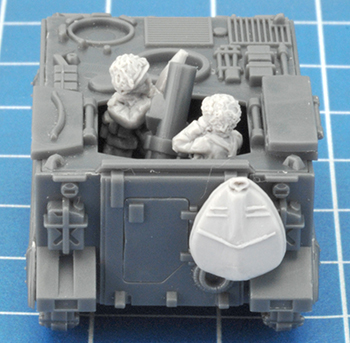 |
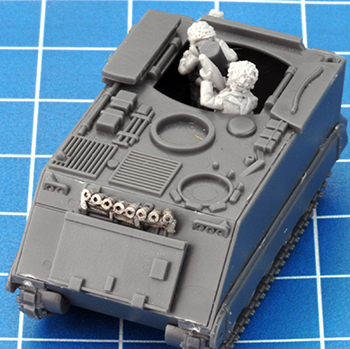 |
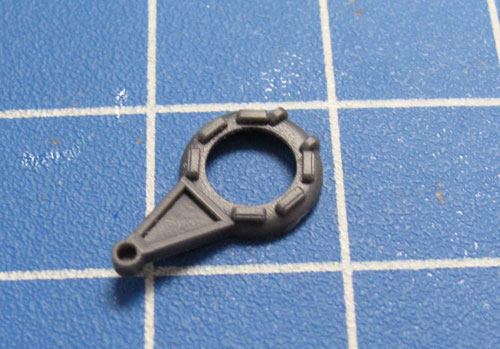
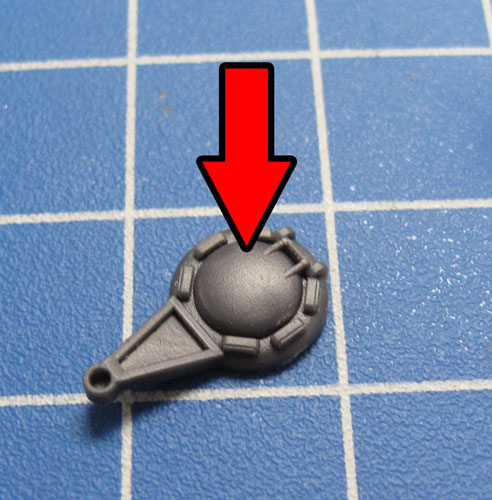
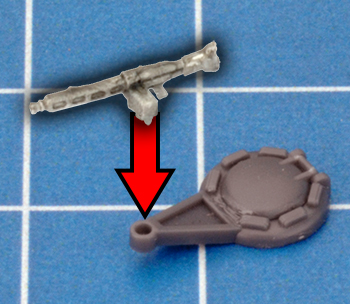
| Step 14. Next, assemble the MG turret. | ||
 |
 |
 |
|
If you would like to add a driver, simply attach the driver's hatch to the vehicle in an open position and add one of the command figures. Otherwise, glue the driver's hatch in the closed position. |
 |
 |
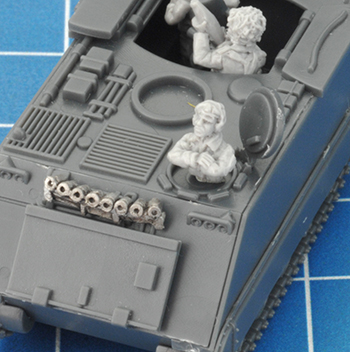 |
| Note: Some prefer to paint the commander and crew figures separately, then attach them to the vehicle after painting. |
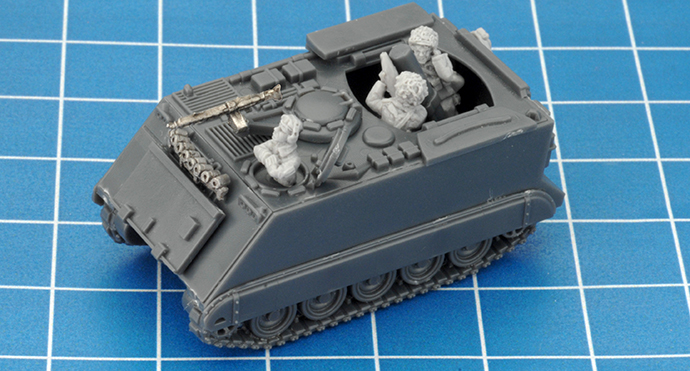
| Below: The fully assembled M113 Panzermörser. |
 |
