
 |
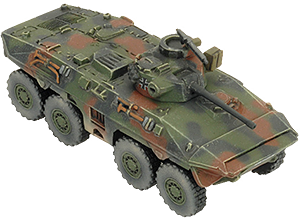
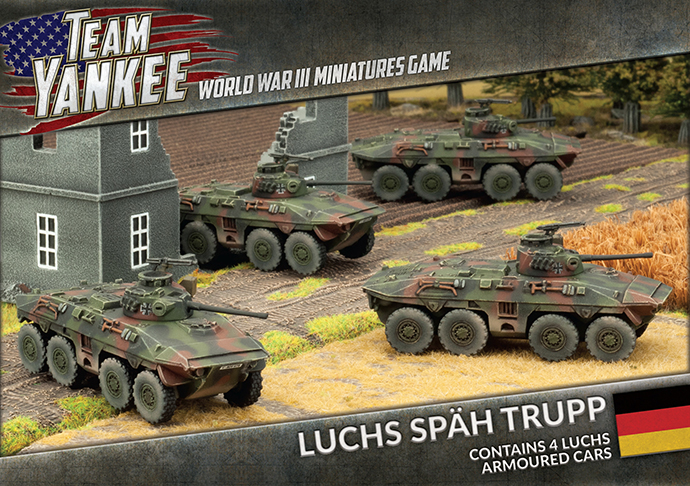
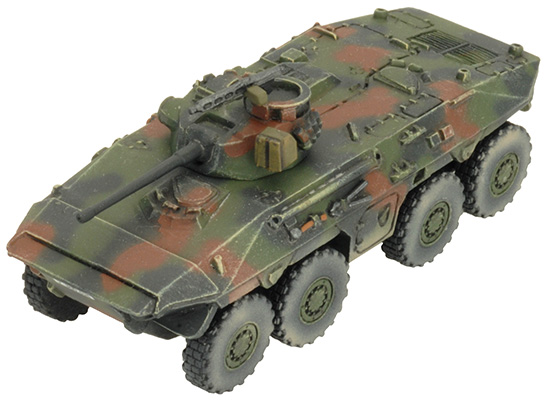
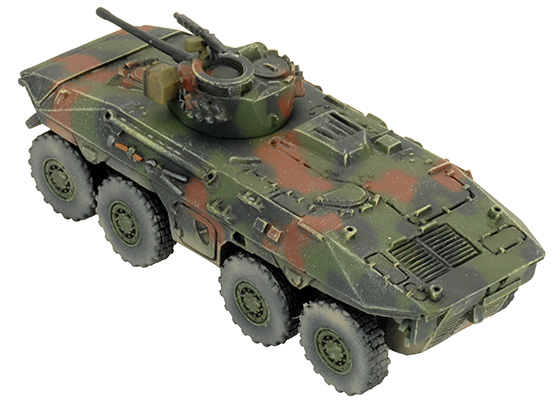
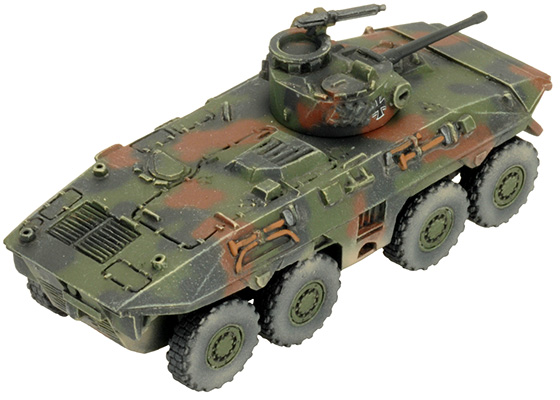
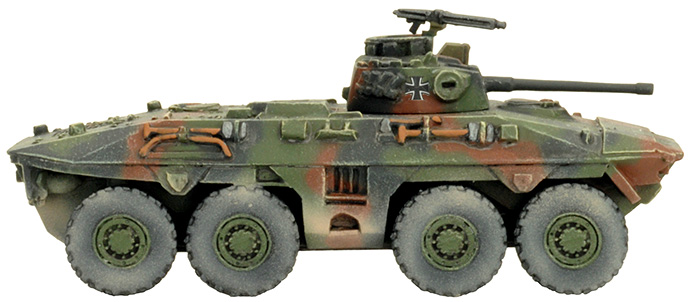
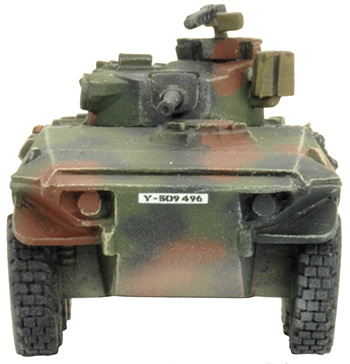
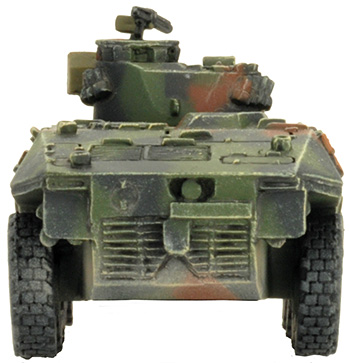
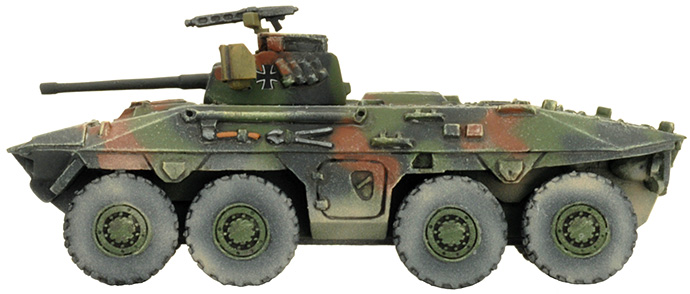
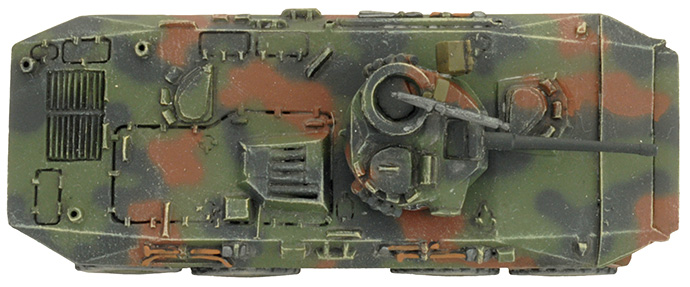
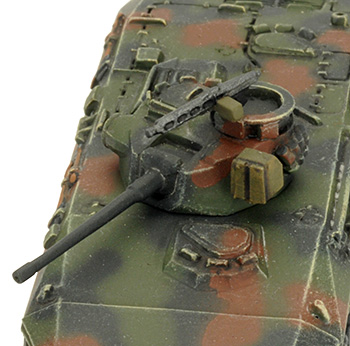
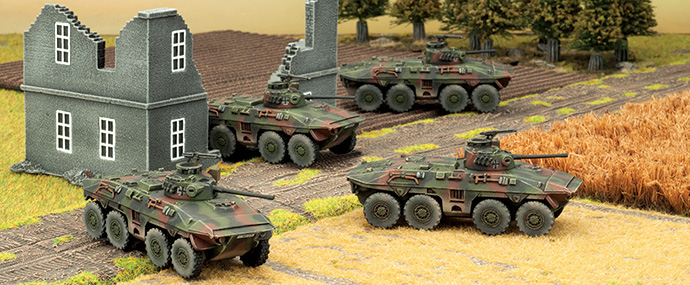
Luchs Späh Trupp (TGBX05) Includes four Luchs armoured cars, resin tank commander sprue, decal sheet & Unit Card. The Aufklärungs troops at the very front of the division’s vanguard are the Späh Truppen (reconnaissance patrols) equipped with the 8-wheeled Luchs armoured car. Check out the Luchs Späh Trupp in the online store... Designed by Tim Adcock and Evan AllenPainted by Aaron Mathie |
|
Leopard All across West Germany divisions are being mobilised and reservists flock to their barracks for assignment to the front. With their powerful Leopard 2 tanks and panzergrenadiers mounted in the Marder infantry fighting vehicles, they fight with skill and cunning to slow the Soviet advance, determined to protect their homes and families. |
 |
 |
|
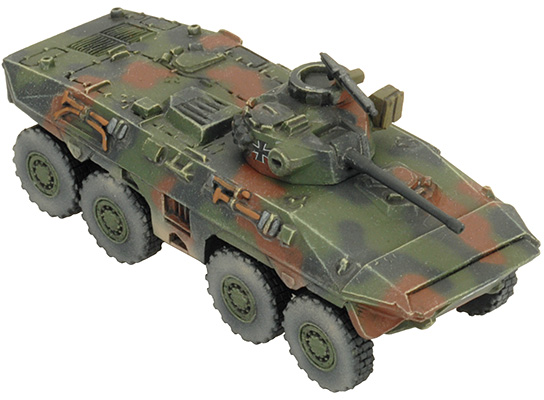
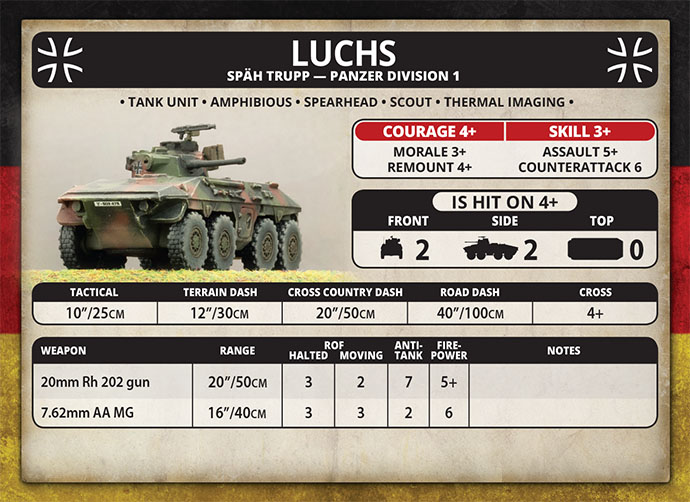
The Luchs is fast on road, but still has excellent cross-country performance. It is a very quiet vehicle allowing its crew to advance on enemy positions undetected. If they are spotted, the Luchs can reverse at full-speed with the driver switching to a rear facing driving position. It is amphibious and is armed with a rapid-fire 20mm auto-cannon. |
 |
 |
 |
 |
 |
 |
 |
 |
 |
 |
 |
 |
 |
| Luchs Späh Trupp Box Contents |
| Contact the customer service team at customerservice@battlefront.co.nz if you have issues with any components. |
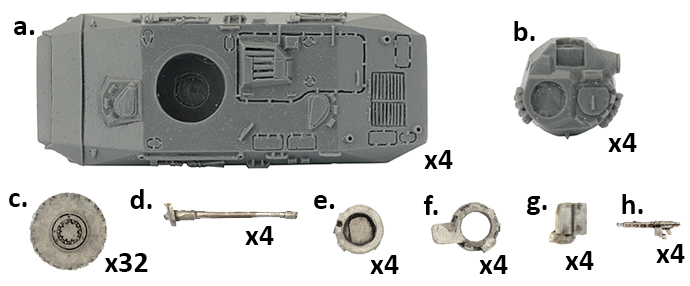 |
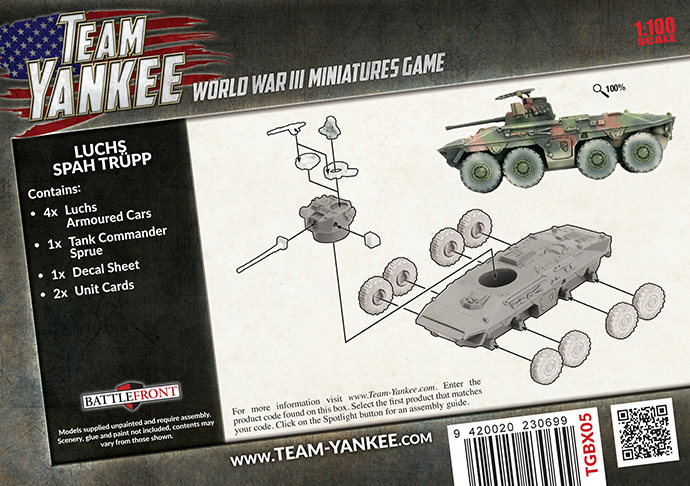
| a. 4 x Luchs hulls b. 4 x Luchs turrets c. 32 x Wheels d. 4 x 20mm autocannon |
e. 4 x Closed commander's hatches f. 4 x Open commander's hatches g. 4 x Searchlights h. 4 x MG3 AA machine-guns |
| Resin tank commander sprue |
 |
| Unit Card | Decal Sheet |
 |
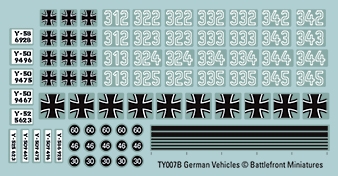 |
| Assembling a Luchs |
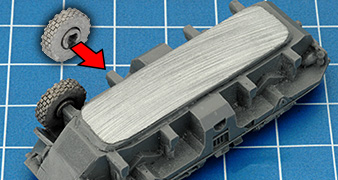
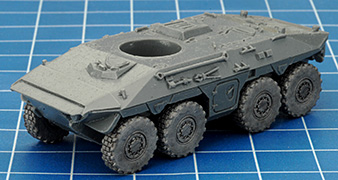
| Step 1: Start by gluing the wheels in place. Take your time and try to make sure each wheel is straight and level – this is easier than it looks, because the axle is shaped to fit the recess in the wheels to help with stability and correct alignment. | Below: The 8 wheels attached correctly. |
 |
 |
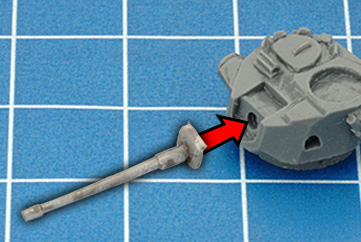
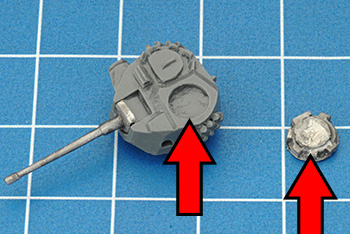
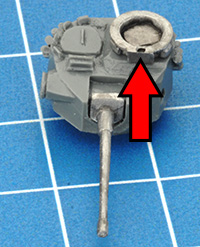
| Step 2: Glue the 20mm gun into the mounting holes on the front of the turret. | Step 3: Glue the closed hatch into the circular recess. Note that the mounting hole for the AA machine-gun should be at the front. | |
 |
 |
 |
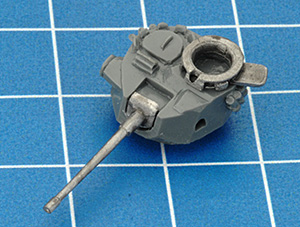
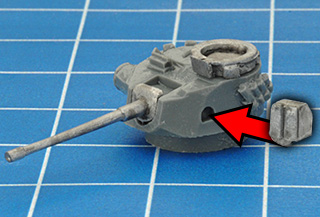
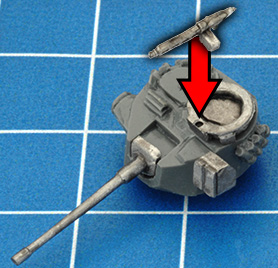
| If you want your Luchs to have a commander (a good way to identify the unit commander, or just to make the vehicle look unique), use the open hatch instead. It's a good idea to paint the commander figure separately, then glue him in place after painting. | Step 4: Glue the searchlight into the semi-circular hole on the side of the turret. | Step 5: Finally, glue the AA machine-gun into the mounting hole in front of the hatch. Because MG's are quite fragile parts, some modellers also like to paint them separately before attaching them. |
 |
 |
 |
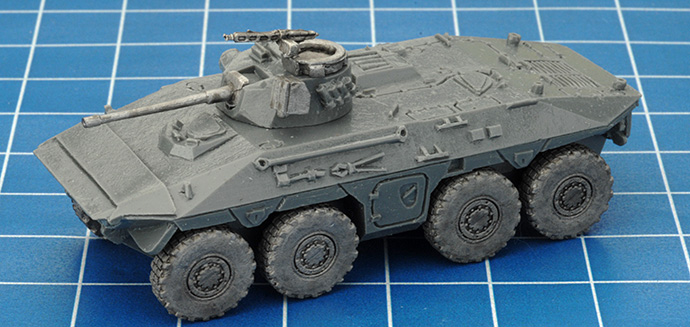
| Below: The fully assembled Luchs. |
 |
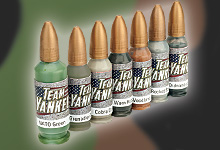 |
Painting NATO Camouflage All the colours you need to paint the standard NATO three-colour camouflage pattern can be found in the Quartermasters Paint Set and the Team Yankee German Paint Set. |
| Leopard 2 Painting Guide |
| In this video Aaron paints a Leopard 2 tank in the NATO three-colour camouflage scheme. You can use exactly the same process and colours to paint the your Gepards. |
