
 |
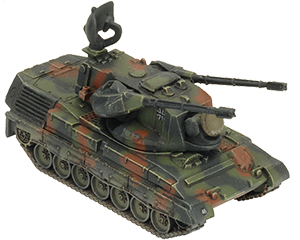
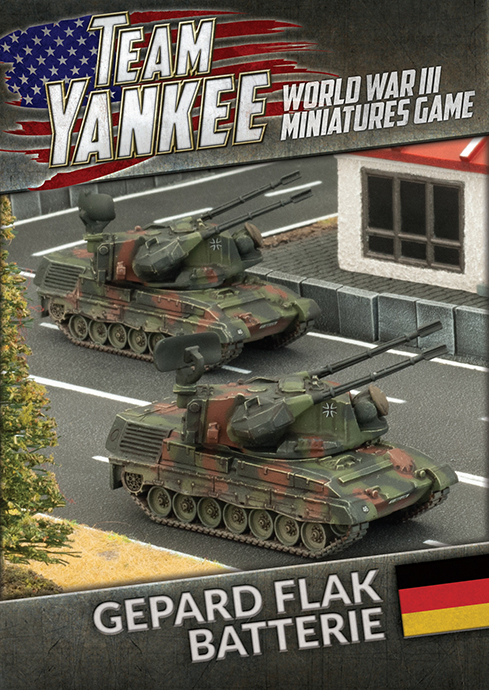
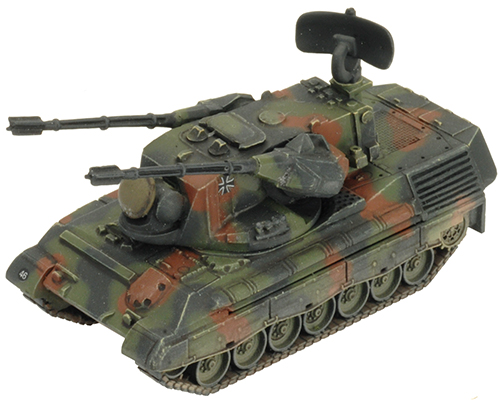
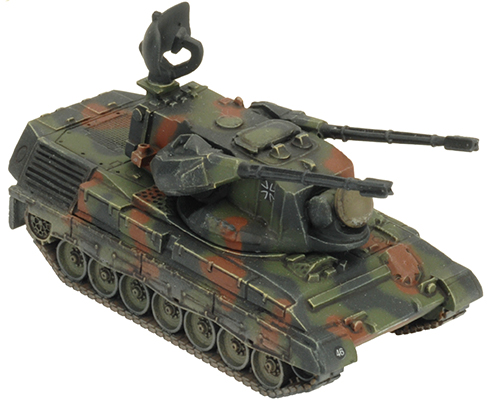
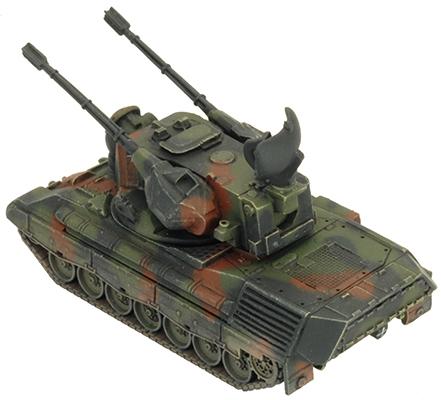
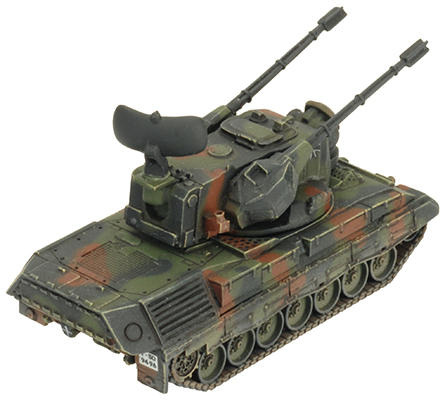
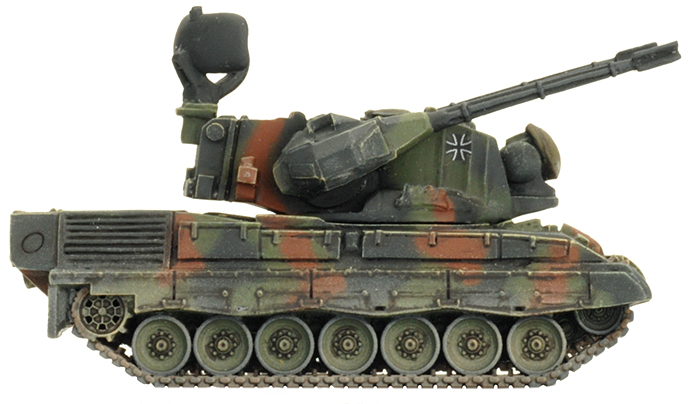
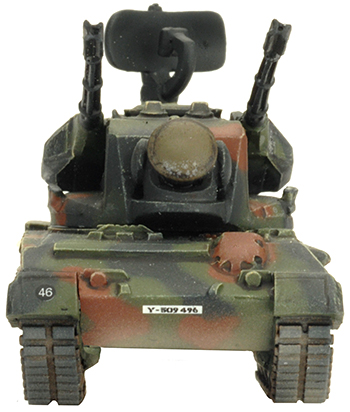
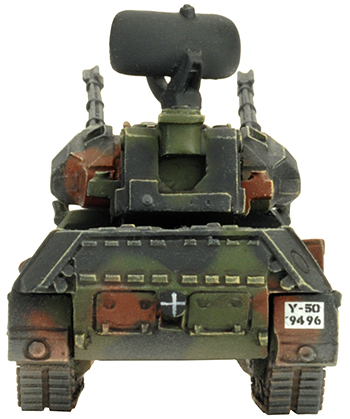
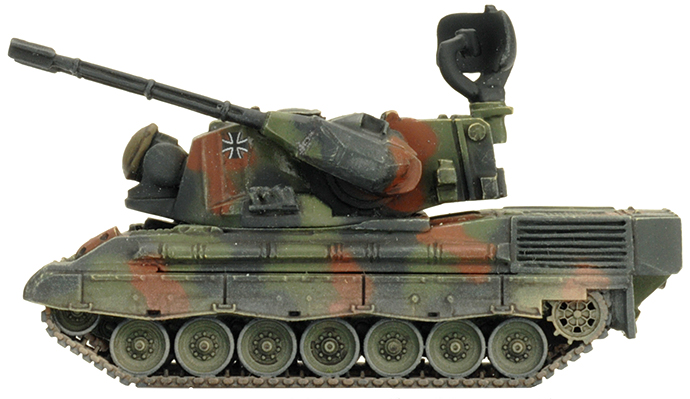
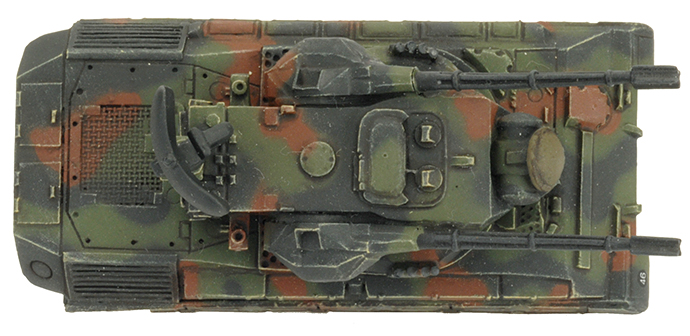
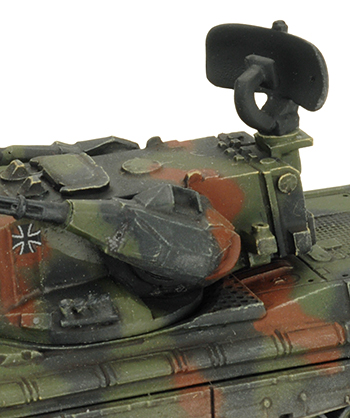
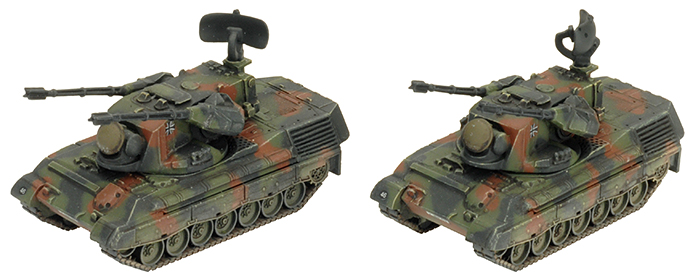
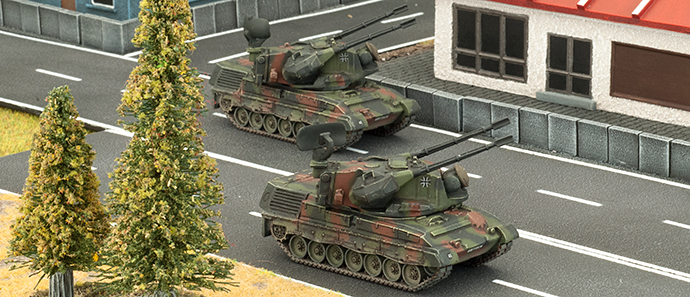
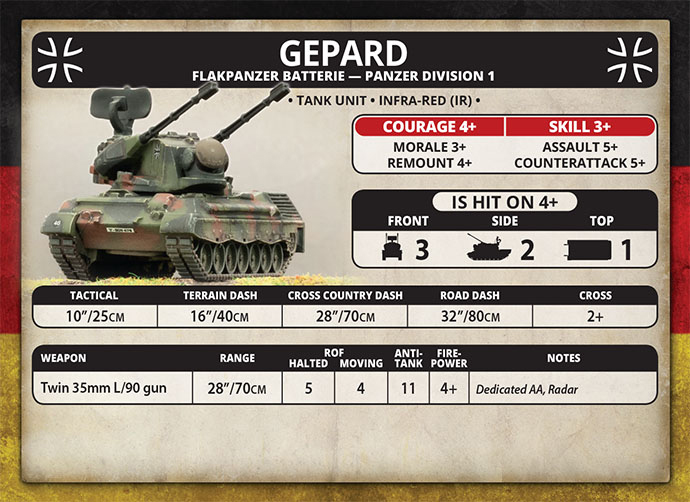
Gepard Flakpanzer Batterie (TGBX07) Includes two Flakpanzer Gepard anti-aircraft vehicles & Unit card. The Flugabwehrkanonenpanzer Gepard (Antiaircraft Cannon Tank, Cheetah), or Flakpanzer Gepard for short, is the main anti-aircraft vehicle of the panzer divisions. It is fitted with a sophisticated anti-aircraft radar system for locating and tracking its targets. Check out the Gepard Flakpanzer Batterie in the online store... Designed by Tim Adcock and Evan AllenPainted by Aaron Mathie |
|
Leopard All across West Germany divisions are being mobilised and reservists flock to their barracks for assignment to the front. With their powerful Leopard 2 tanks and panzergrenadiers mounted in the Marder infantry fighting vehicles, they fight with skill and cunning to slow the Soviet advance, determined to protect their homes and families. |
 |
 |
 |
|
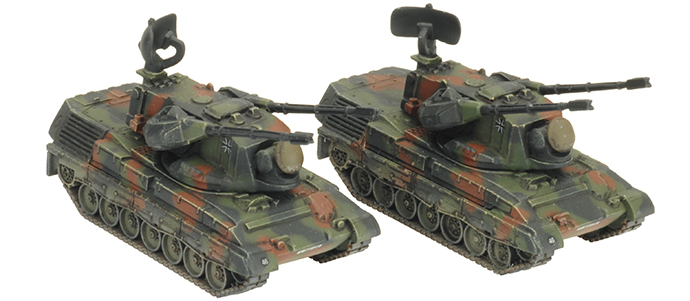
The Gepard is based on the hull of the Leopard 1 tank, with a large turret mounting a pair of 35mm Oerlikon autocannon and its tracking and search radar dishes. With a rate-of-fire of 550 rounds per minute for each gun, the Gepard does nasty things to Soviet aircraft. |
 |
 |
 |
 |
 |
 |
 |
 |
 |
 |
Painting NATO Camouflage All the colours you need to paint the standard NATO three-colour camouflage pattern can be found in the Quartermasters Paint Set and the Team Yankee German Paint Set. |
 |
 |
 |
 |
| Gepard Flak Batterie Box Contents |
| Contact the customer service team at customerservice@battlefront.co.nz if you have issues with any components. |
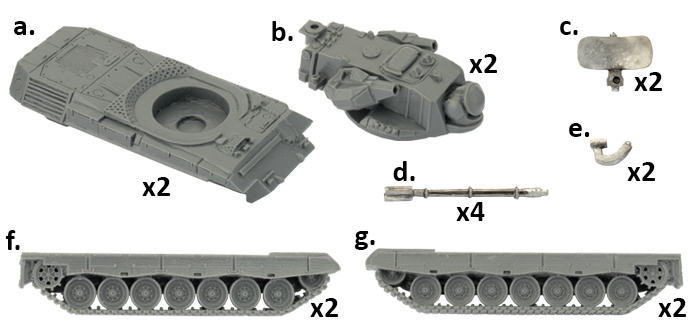 |
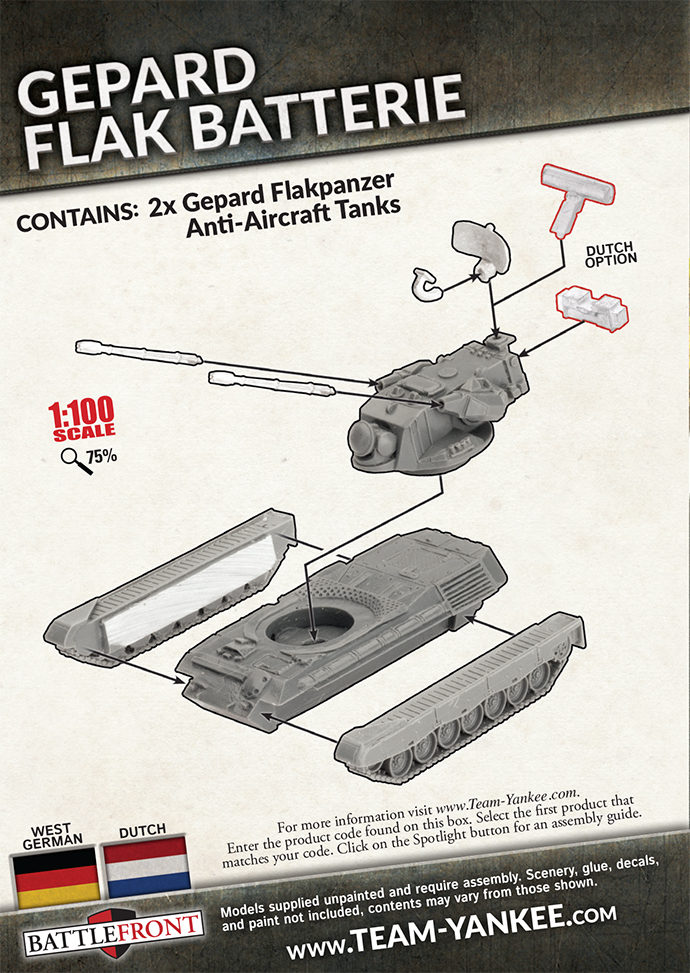
| a. 2 x Gepard hulls b. 2 x Gepard turrets c. 2 x Radar dishes d. 4 x 35mm autocannon |
e. 2 x Radar transponders f. 2 x Right tracks g. 2 x Left tracks |
| Unit Card |
 |
| Assembling a Gepard |
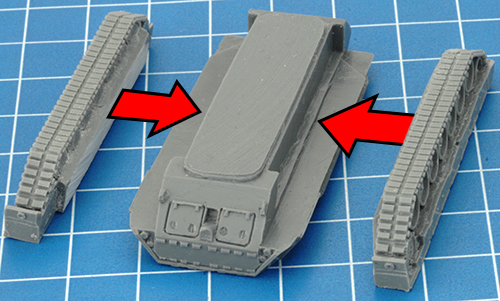
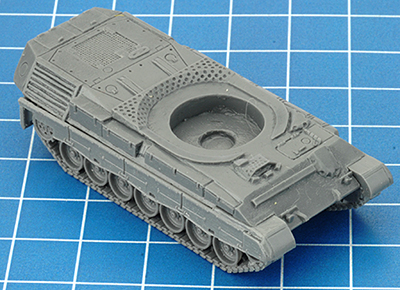
| Step 1: Start by gluing the resin tracks to the hull. The left-hand track has a keyed mounting plate to ensure that you can't place it on the wrong side; but just to be sure, make sure you position the rectangular mud guards at the back of the vehicle. | Below: The tracks attached correctly. |
 |
 |
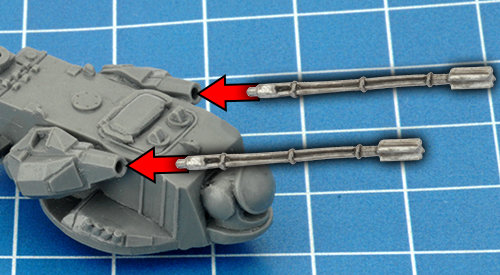
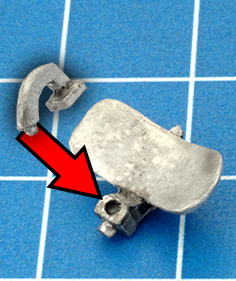
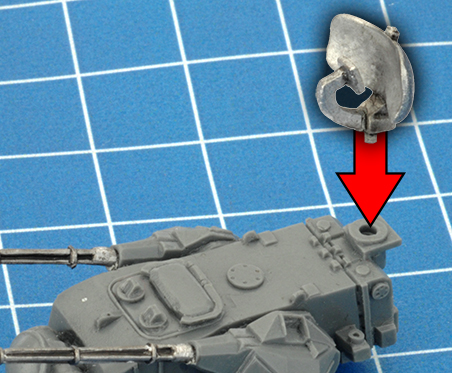
| Step 2: Glue the 35mm guns into the mounting holes. | Step 3: Glue the transponder to the radar dish. The small round tab fits into the hole for correct placement. Finally, glue the radar assembly into the mount at the rear of the turret. Because the radar rotates, there is no right or wrong direction to point the radar. | |
 |
 |
 |
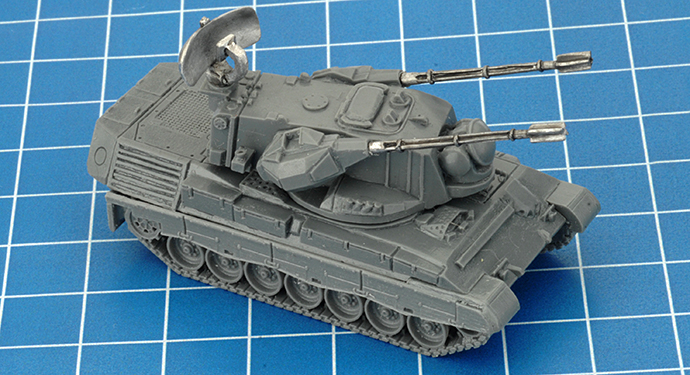
| Below: The fully assembled Gepard. |
 |
| Leopard 2 Painting Guide |
| In this video Aaron paints a Leopard 2 tank in the NATO three-colour camouflage scheme. You can use exactly the same process and colours to paint the your Gepards. |
