|
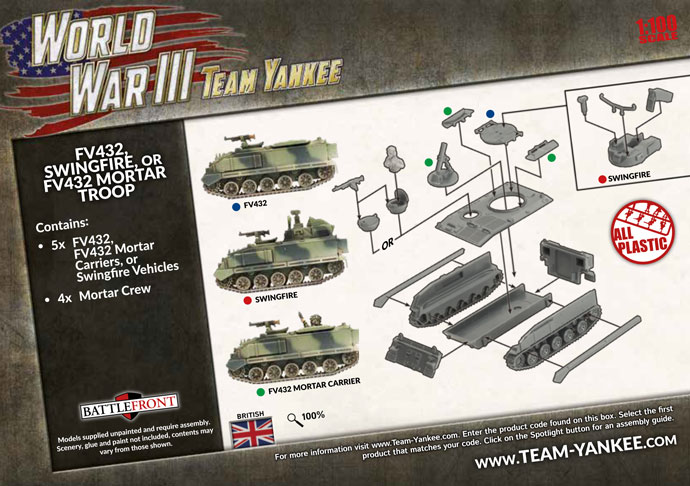
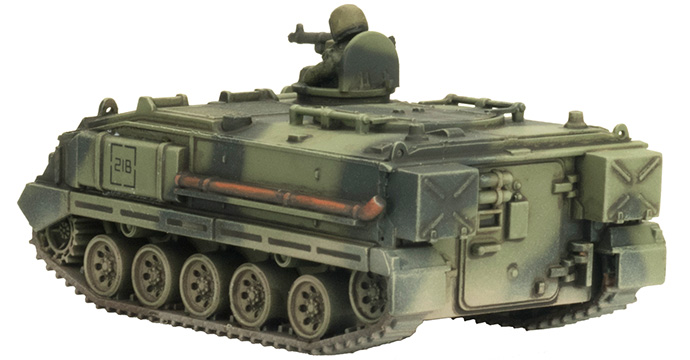
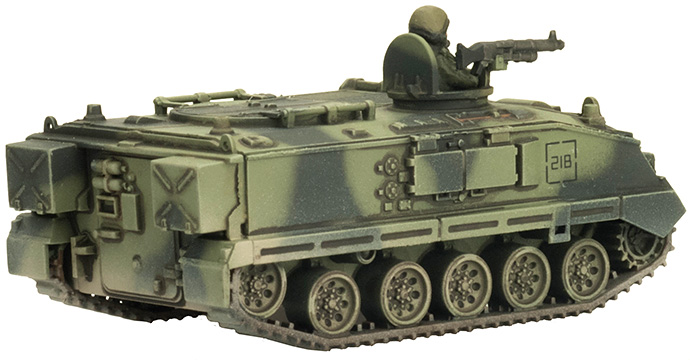
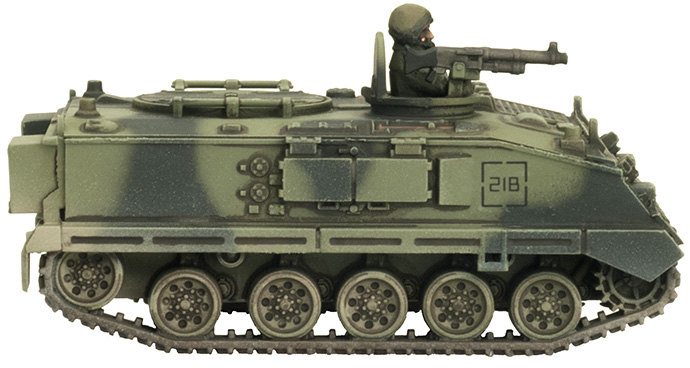
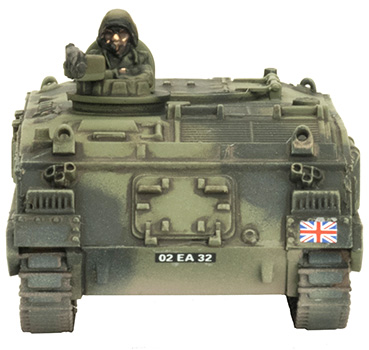
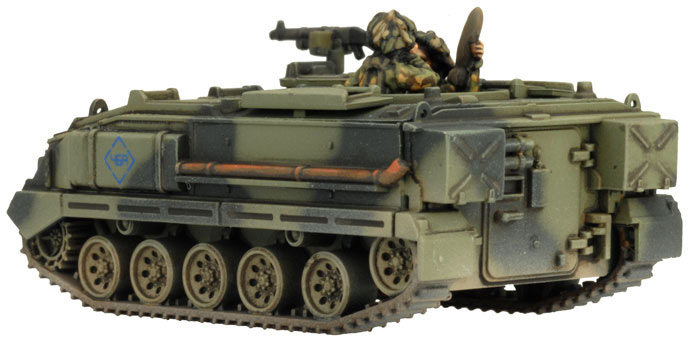
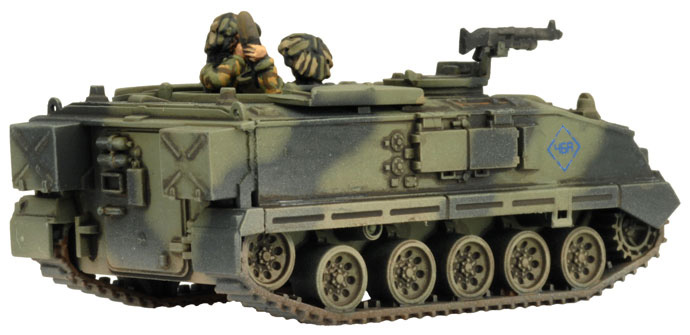
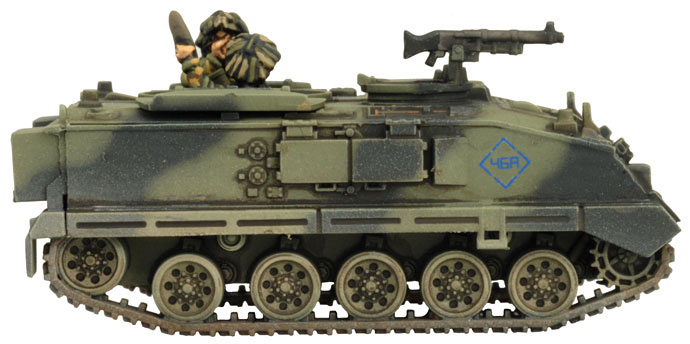
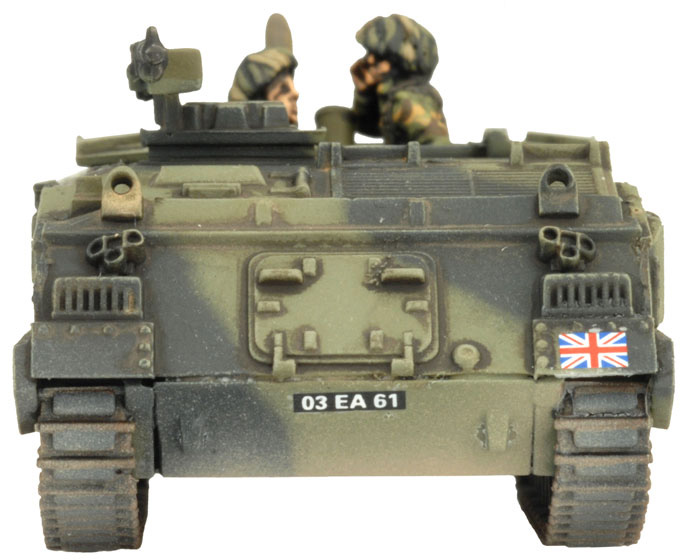
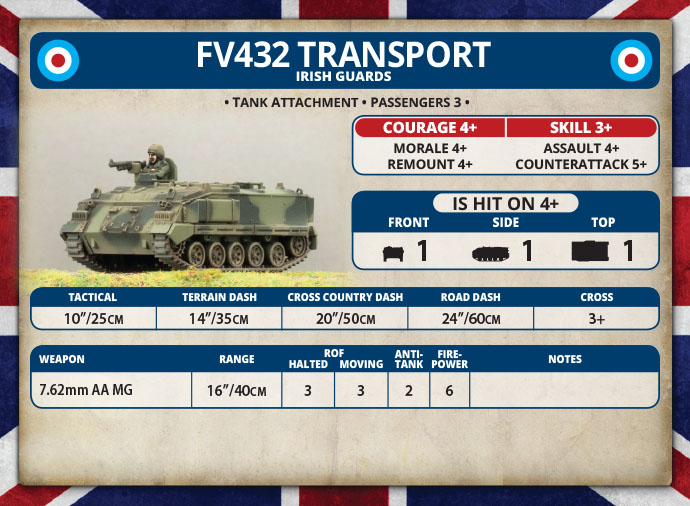
Includes five plastic FV432 Armoured Personnel Carriers, which can also be assembled as mortar carriers or Swingfire guided missile vehicles, six resin vehicle commander figures and eight resin or metal mortar crew. The FV432 armoured personnel carrier is the British equivalent of the ubiquitous American M113.The design is very conventional, being made of welded steel plates and capable of carrying a section of ten infantry. Check out the FV432 or Swingfire Troop in the online store... |
 |
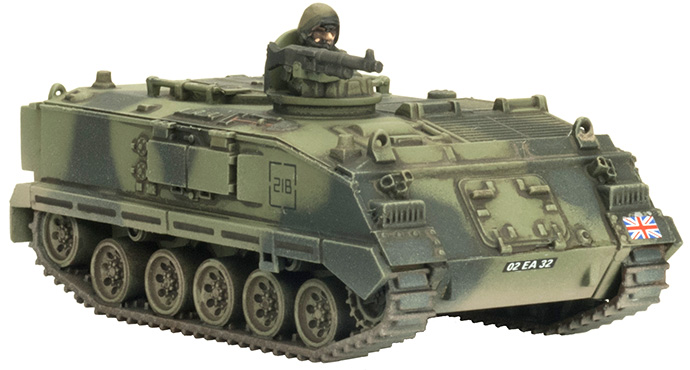
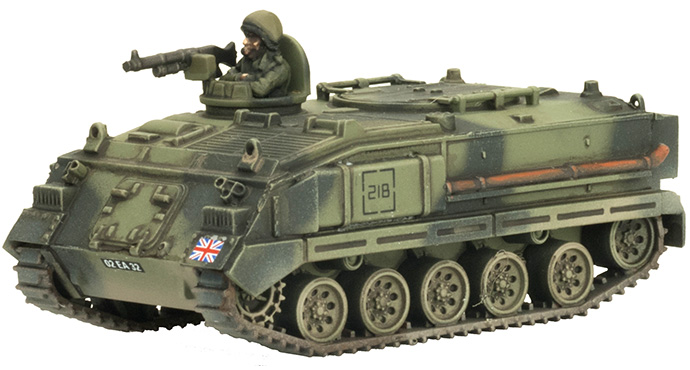
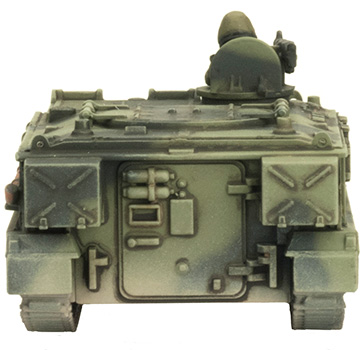
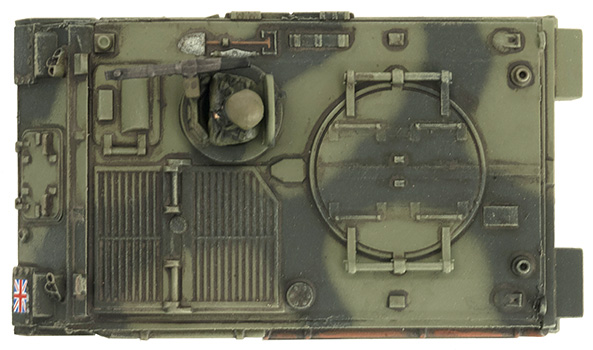
| FV432 Armoured Personnel Carrier |
| The FV432 is used as a ‘battle taxi’, delivering the infantry to the battlefield safely protected from small arms and artillery fire. Once there, the infantry dismount to fight on foot, while the FV432 APCs retire behind cover, ready to provide a mobile reserve of fire in the event of an enemy infantry attack. |
 |
 |
 |
 |
 |
 |
 |
 |
 |
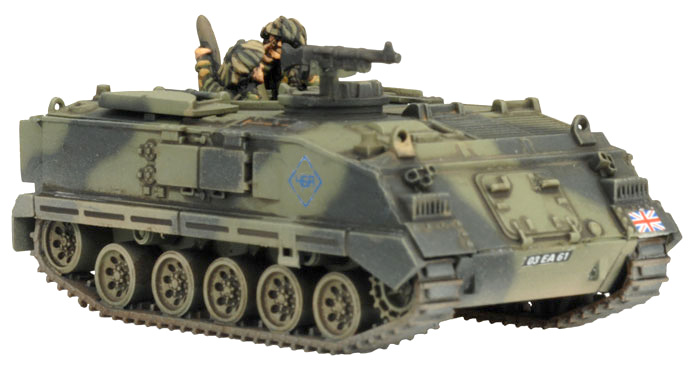
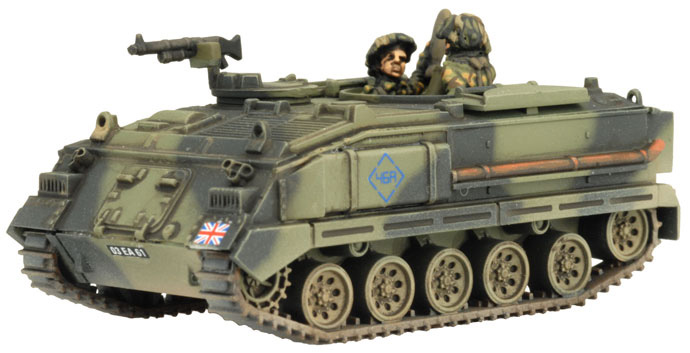
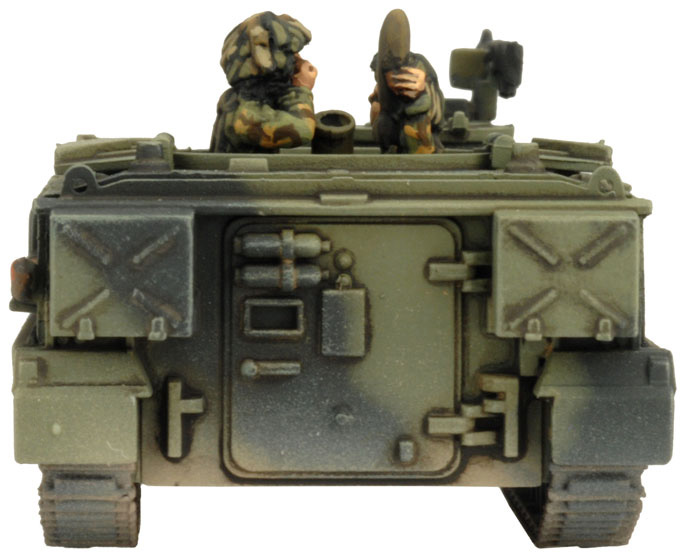
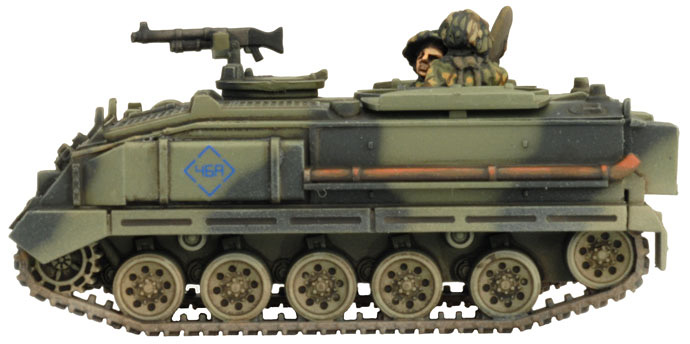
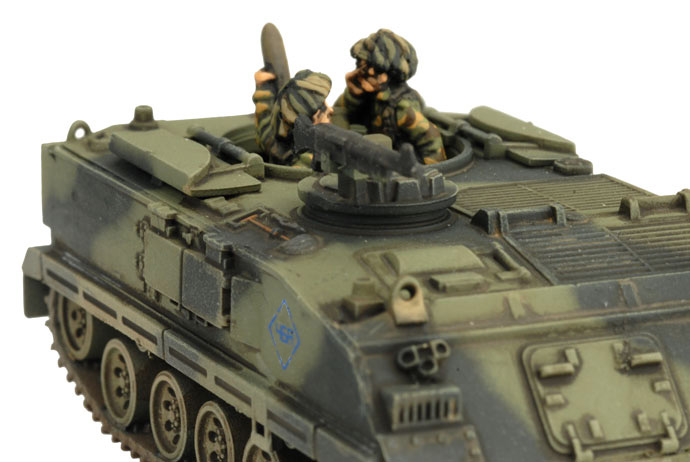
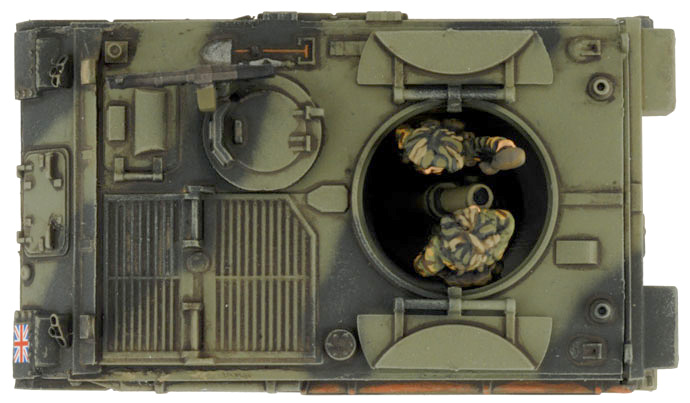
| FV432 Mortar Carrier |
| The mortar platoon mounts the reliable 81mm mortar in its FV432 APCs. The L16 mortar has excellent range and is very useful. With 160 mortar bombs, it can lay down quick bombardments to pin down enemy infantry, as well as firing sustained smoke bombardments to cover its own infantry in the assault. |
 |
 |
 |
 |
 |
 |
 |
 |
 |
 |
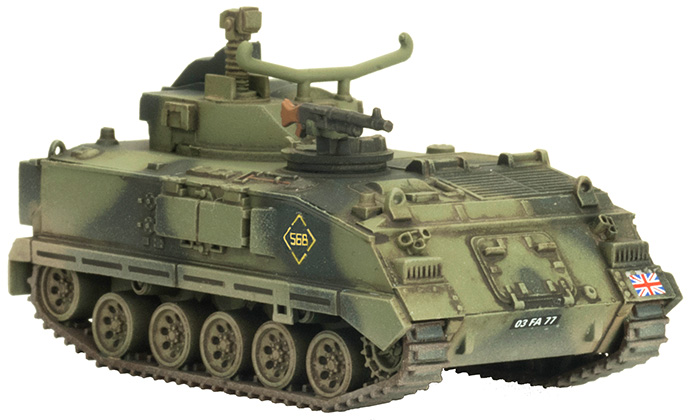
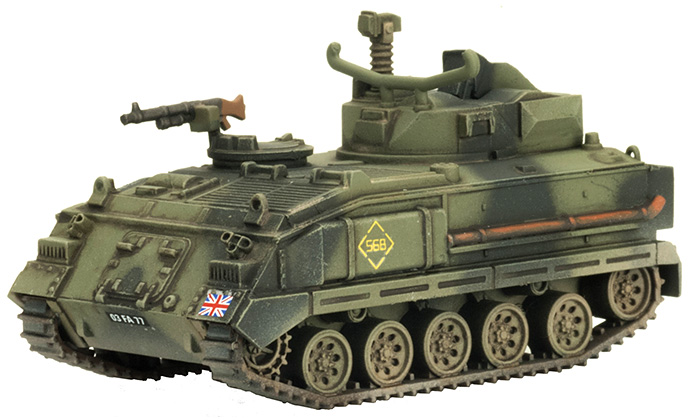
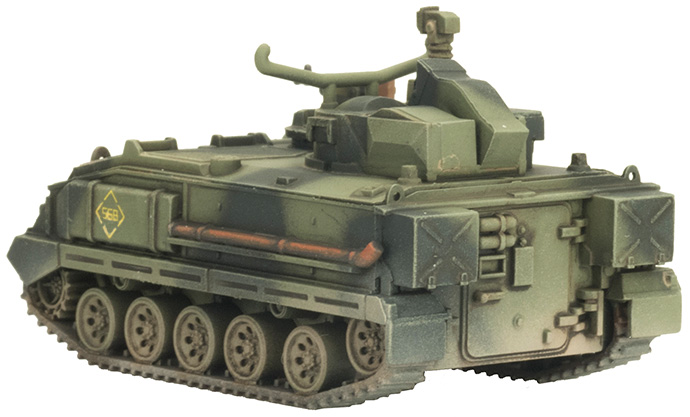
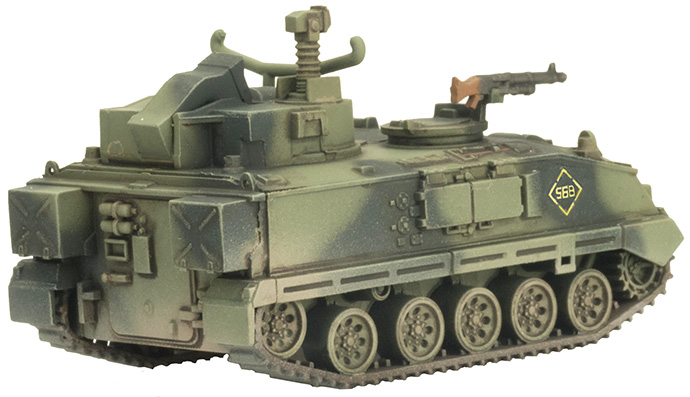
| Swingfire Missile Vehicle |
| The Swingfire missile is somewhat unique in two respects. Firstly, it can ‘swing’ up to 90 degrees on launch, giving it a very wide field of fire. Secondly, the gunner can remotely control the missile launcher from up to 50m (165 feet) away. This allows the FV438 Swingfire launch vehicle to be positioned in cover, or even out of sight of the enemy when it fires. |
 |
 |
 |
 |
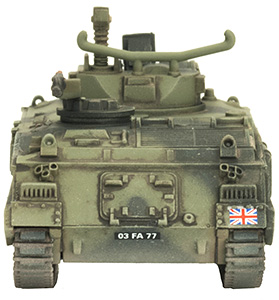 |
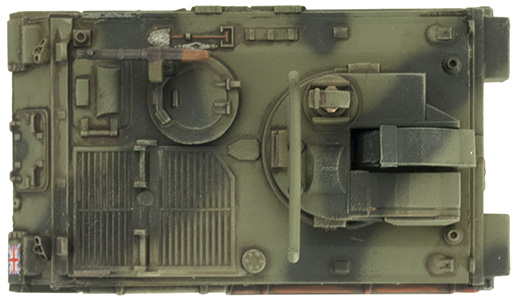 |
| FV432 or Swingfire Troop Box Contents |
| Contact the customer service team at customerservice@battlefront.co.nz if you have issues with any components. |
| FV432 Sprue (x5) |
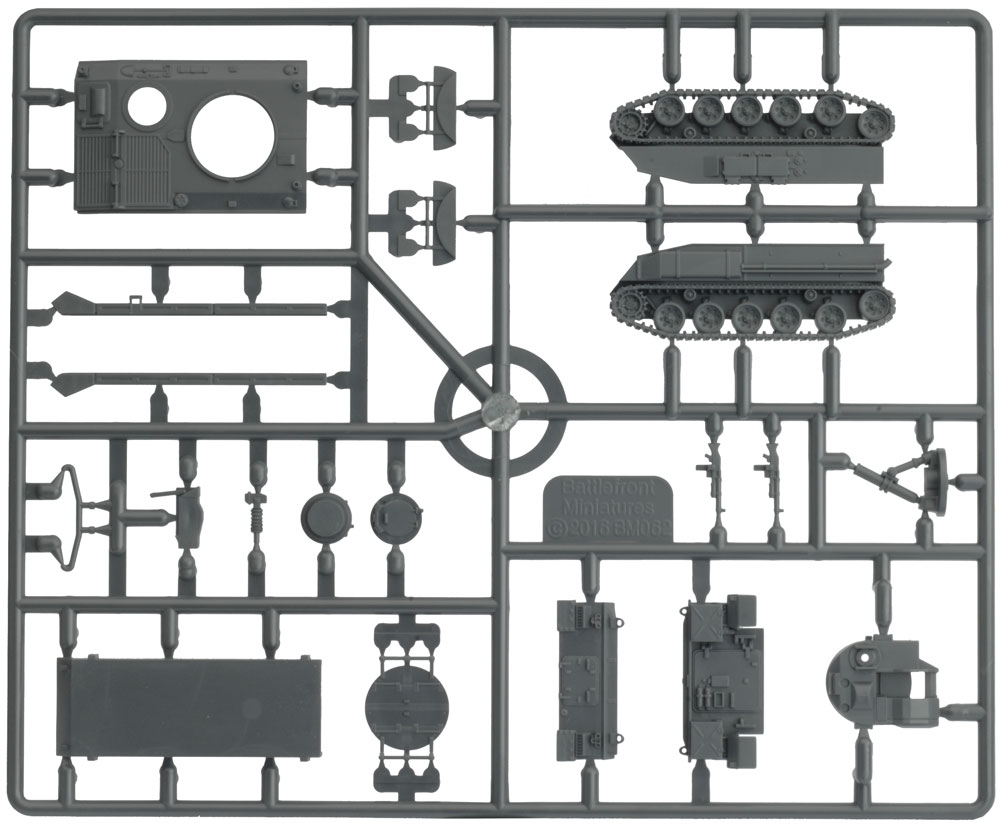 |
| Tank Commander Sprue - front |
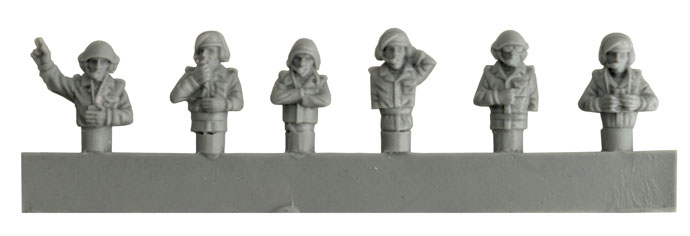 |
| back |
 |
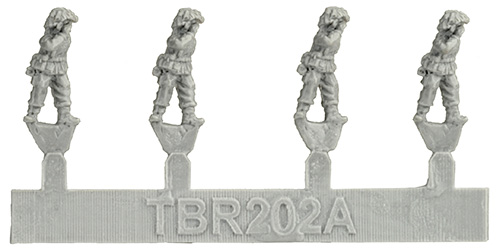
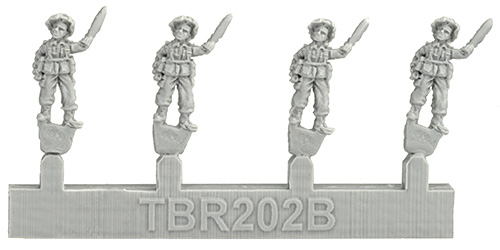
| Mortar Crew Sprues | |
 |
 |
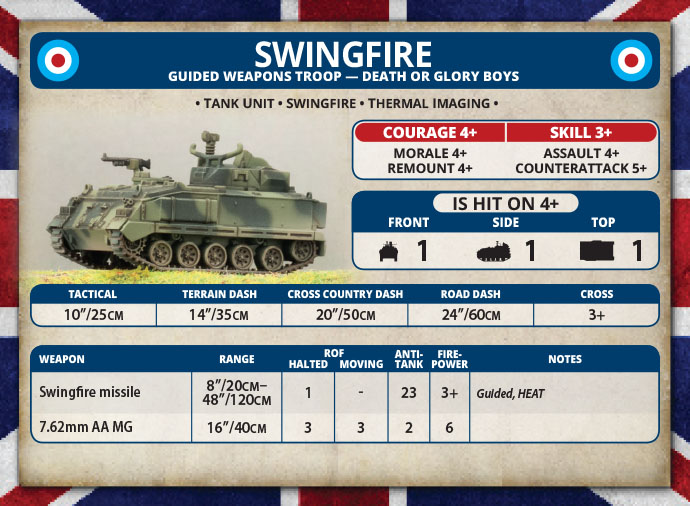
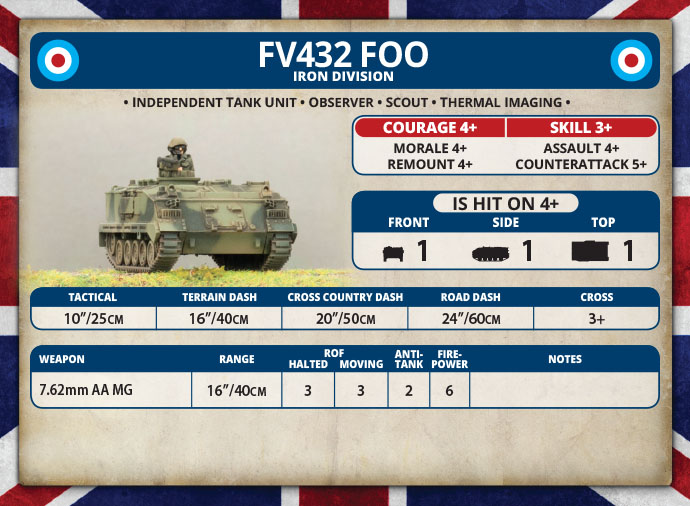
| Unit Cards | |
 |
 |
 |
 |
| Assembling the FV432 |
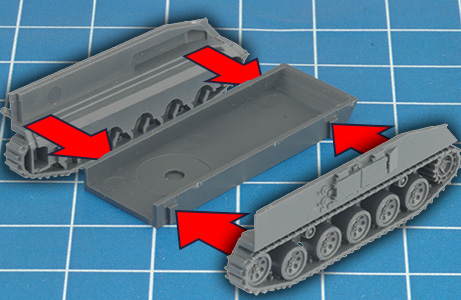
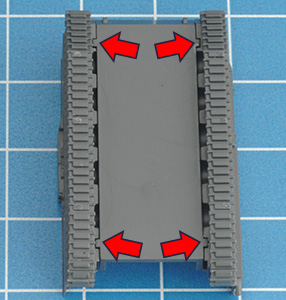
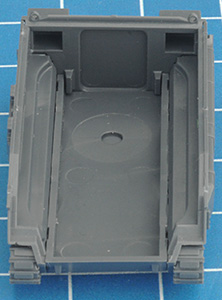
| Step 1: Start by gluing the tracks and hull sides to the hull bottom, ensuring that the angled edge is toward the front of the vehicle. | The two keys at either end help the parts lock together correctly. |
 |
 |
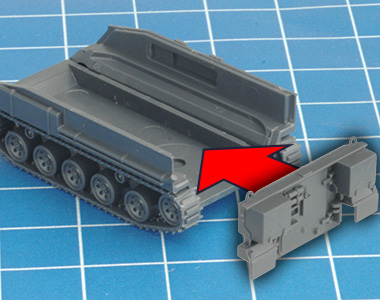
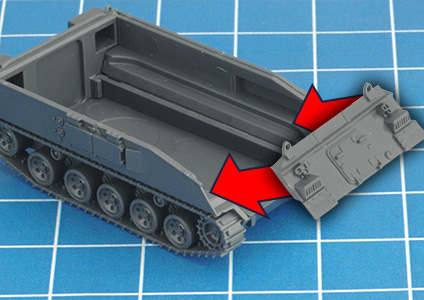
| Step 2: Next glue on the hull rear section and troop door. | The hull rear attached correctly. | Step 3: Glue on the angled front glacis |
 |
 |
 |
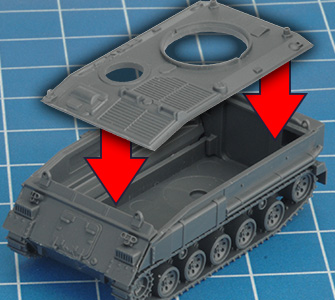
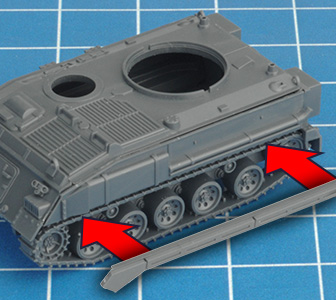
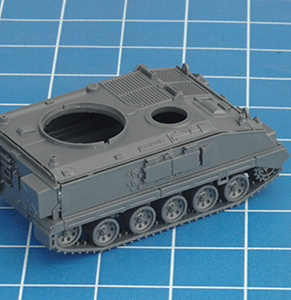
| Step 4: Attach the hull roof | Step 5: Glue on the track guards. Each piece has a flat strip which fits neatly into the channel between the hull and the track. | |
 |
 |
 |
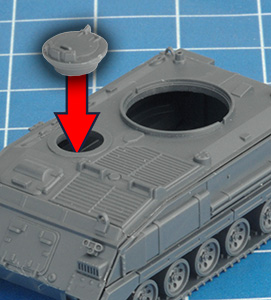
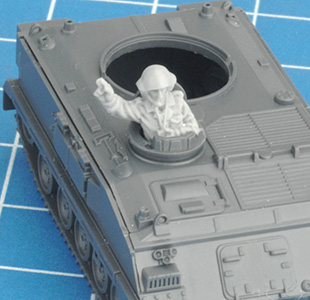
| Step 6: Next attach the commander's cupola. You can choose either the open or closed hatch. Using an open hatch with one of the crew figures is a good way to identify your unit commander, or to just make each vehicle look unique. | Step 7: Glue the 7.62mm AA machine-gun to the cupola. The small rectangular tab should fit snugly into the mounting hole. | |
 |
 |
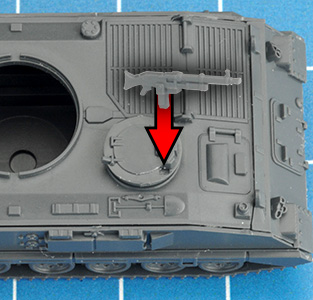 |
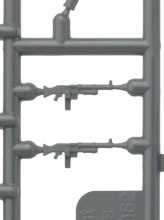
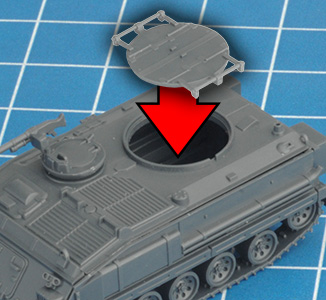
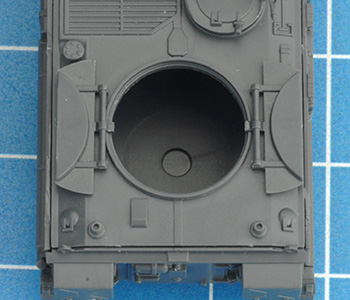
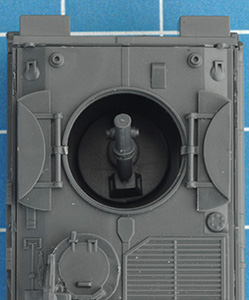
| Because machine-guns tend to be one of the most fragile parts of a model, the sprue contains two in case you need a spare. | Step 8: Finally, add the hatch over the troop compartment. You can choose to model the hatch either open or closed. Your FV432 is now complete. | To assemble the mortar carrier, use the open hatches. |
 |
 |
 |
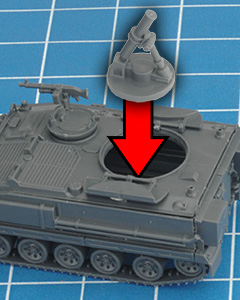
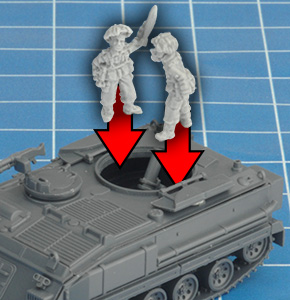
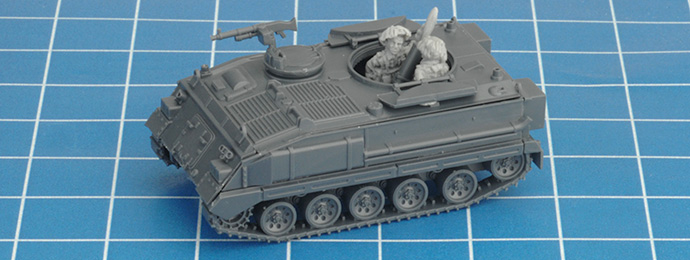
| Then glue the mortar in place in the rear of the vehicle. | You can also add crew figures to your mortar carriers. You will probably find it easier to paint the figures separately first, then glue them into place after painting the vehicle. | |
 |
 |
 |
| Below: The fully assembled FV432 Mortar Carrier. |
 |
| Assembling the Swingfire missle system |
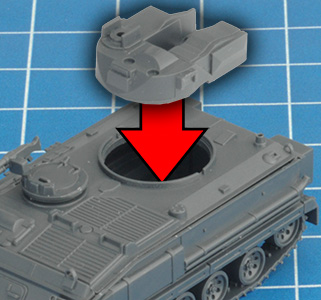
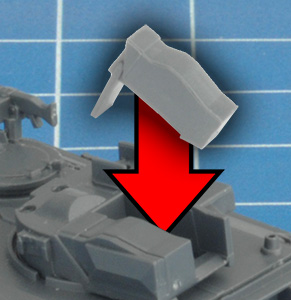
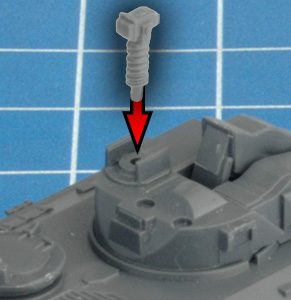
| To assemble the Swingfire missile vehicle, follow steps 1-7 above. Instead of attaching the hatch, glue the Swingfire superstructure into the hole. | Next glue the missile box in place, with the elevated part toward the front. | Next, glue the periscope into its mounting hole. |
 |
 |
 |
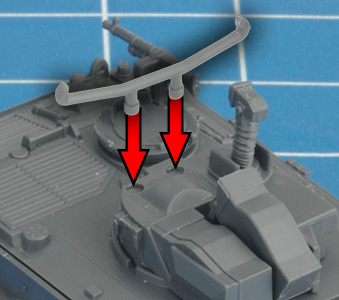
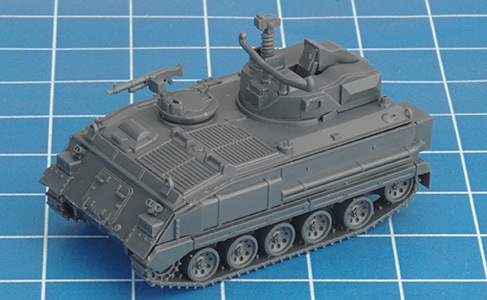
| Finally, glue the missile wire guide rail into the two mounting holes at the front of the superstructure. This rail was a simple solution to prevent the missiles' guidance wires from becoming tangled on the front of the vehicle. | Below: The fully assembled Swingfire missile vehicle. |
 |
 |
| British Vehicle Painting Guide |
| In this video Aaron paints a Chieftain tank in the standard British green and black camouflage scheme. You can use exactly the same process and colours to paint your FV432 APCs. |

